I have been delaying putting this up for way too long, this project is from about a year and a half ago.
Thrift Shopping
While browsing Good Will for something to take apart, I happened upon this gun-looking device.
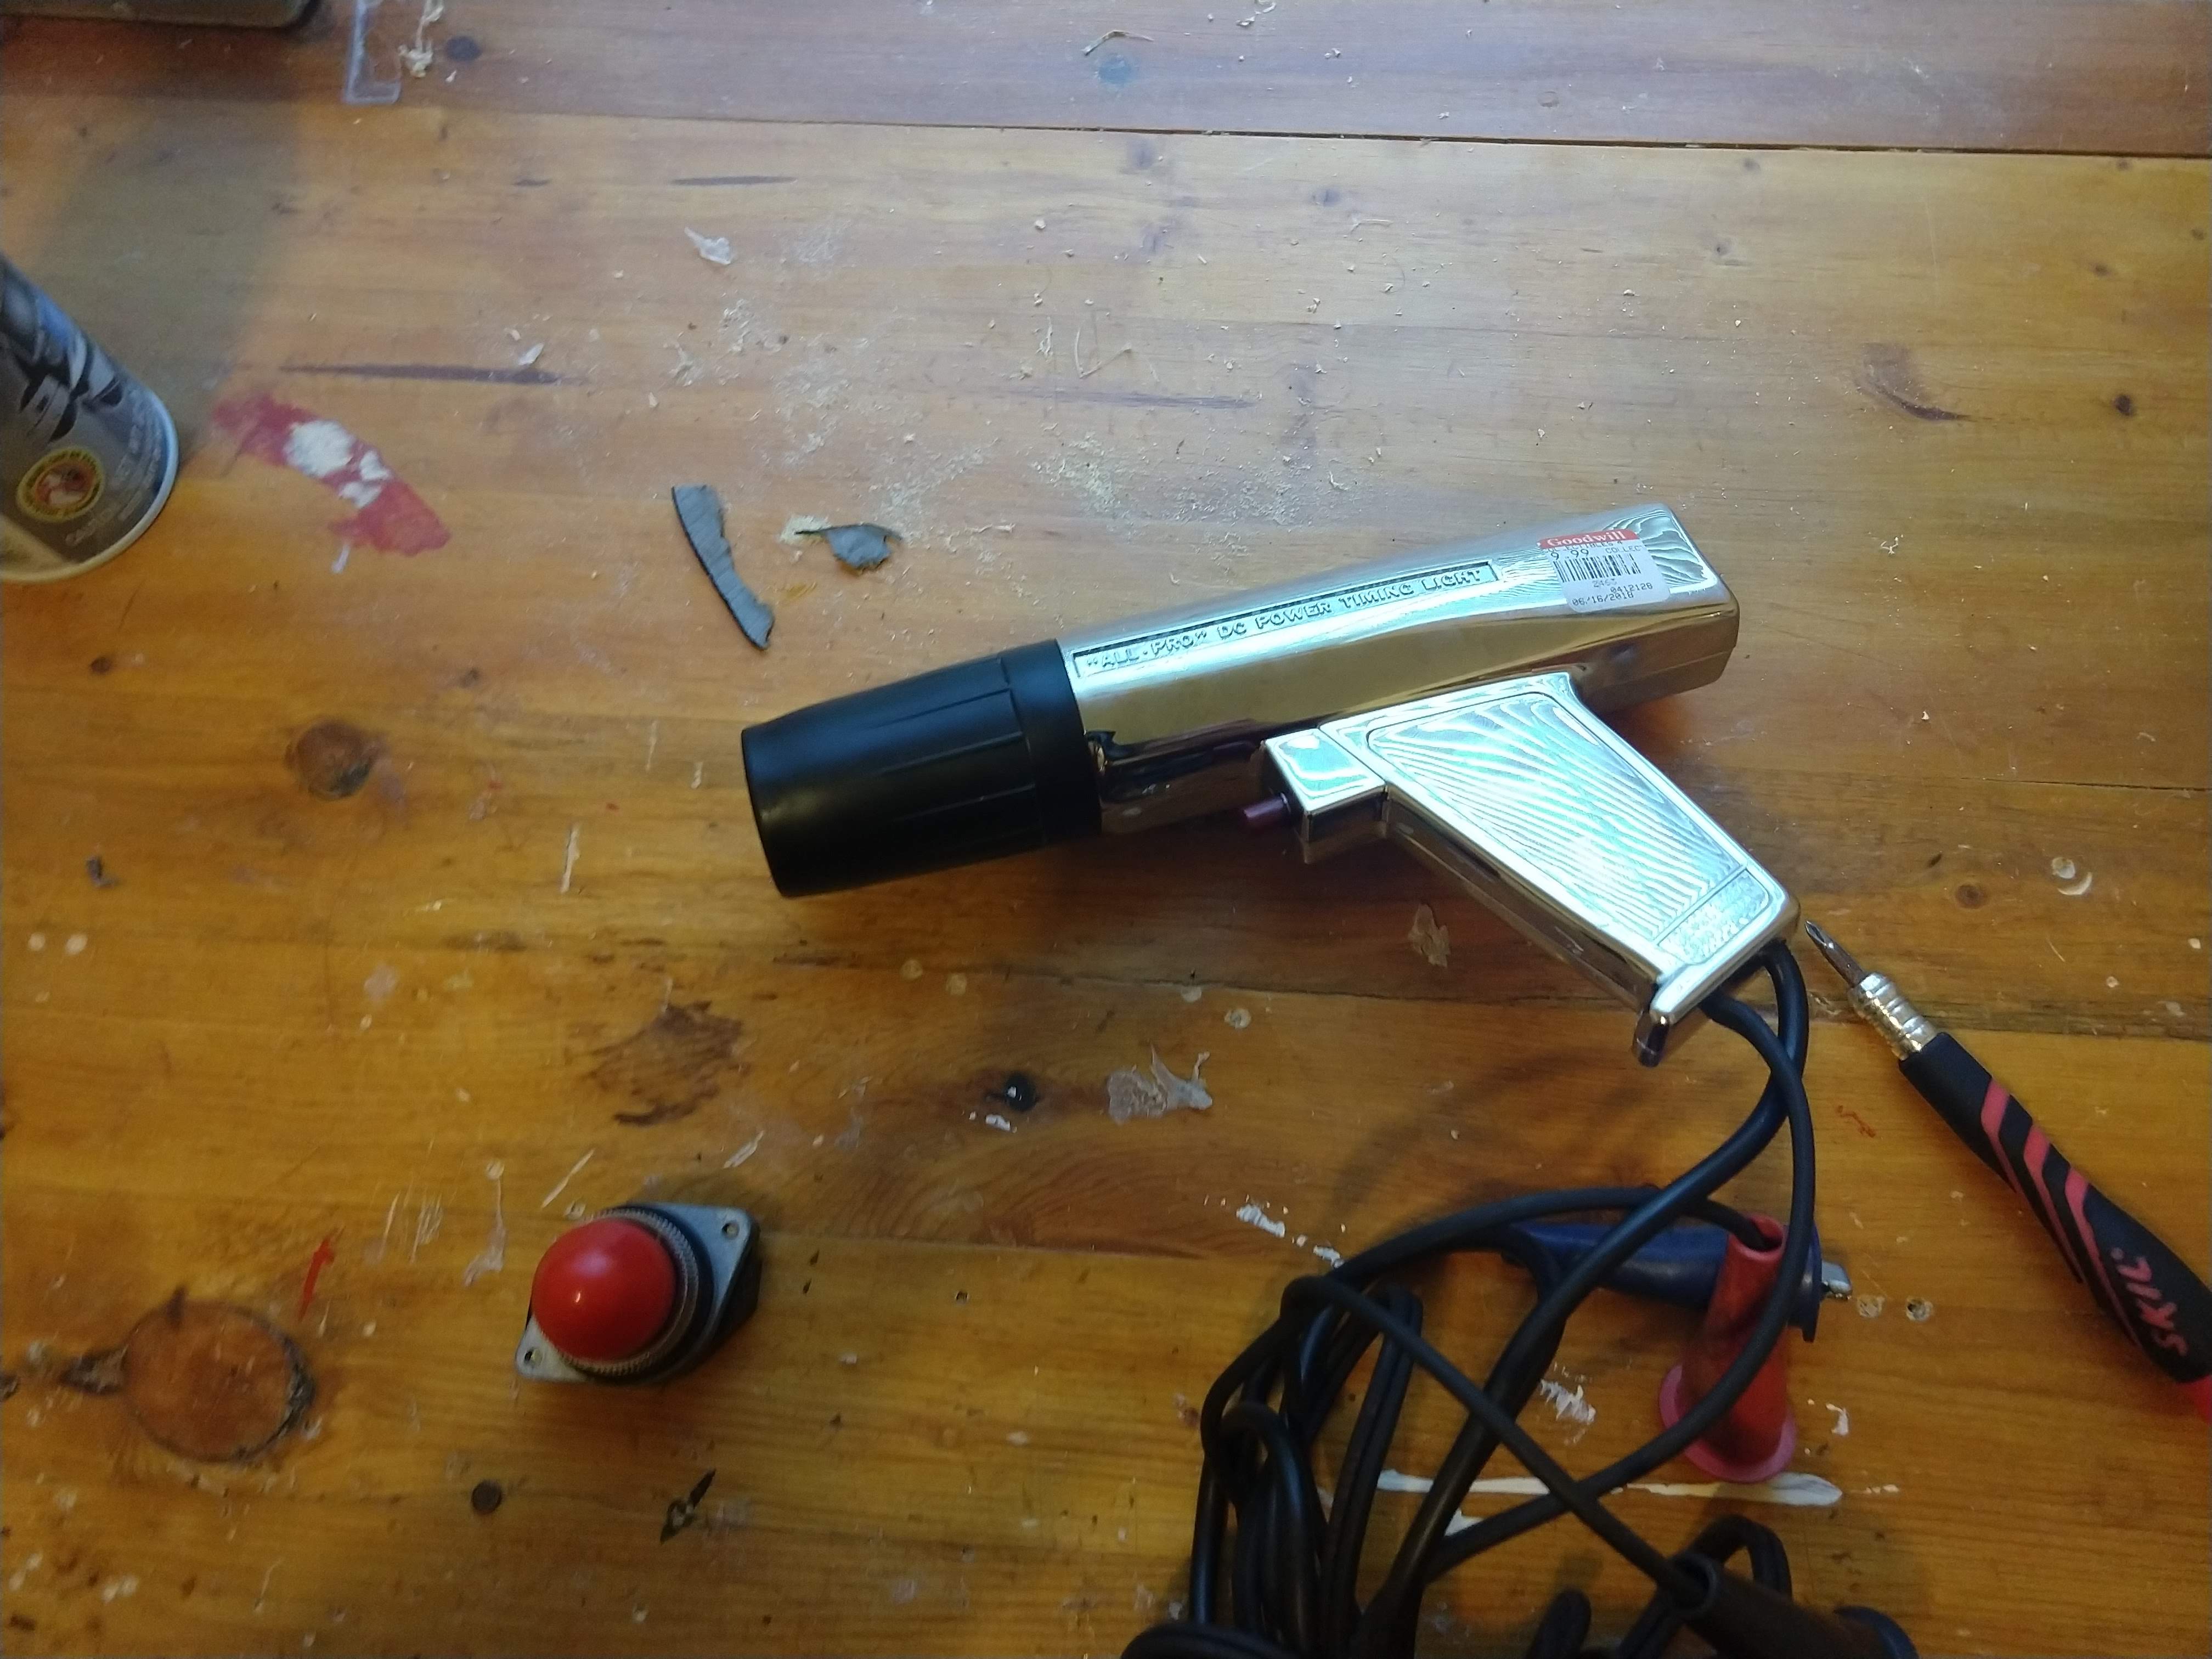
Pictured above is an “Automotive timing light,” something which I know nothing about, but I believe it is used to measure the frequency of combustion engines? Along with a pilot light housing I found at an antique store in Poulsbo (Reflections in Time, which I believe closed last year, sadly). Immediately I was struck by how much the timing light resembled a ray gun. The housing, aside from the rubber spacer on the front, seems to be chromed aluminum, or lighter alloy, so the thing has a nice weight to it. Together with the pilot light housing, I had the makings of a great prop gun.
Gutting the thing
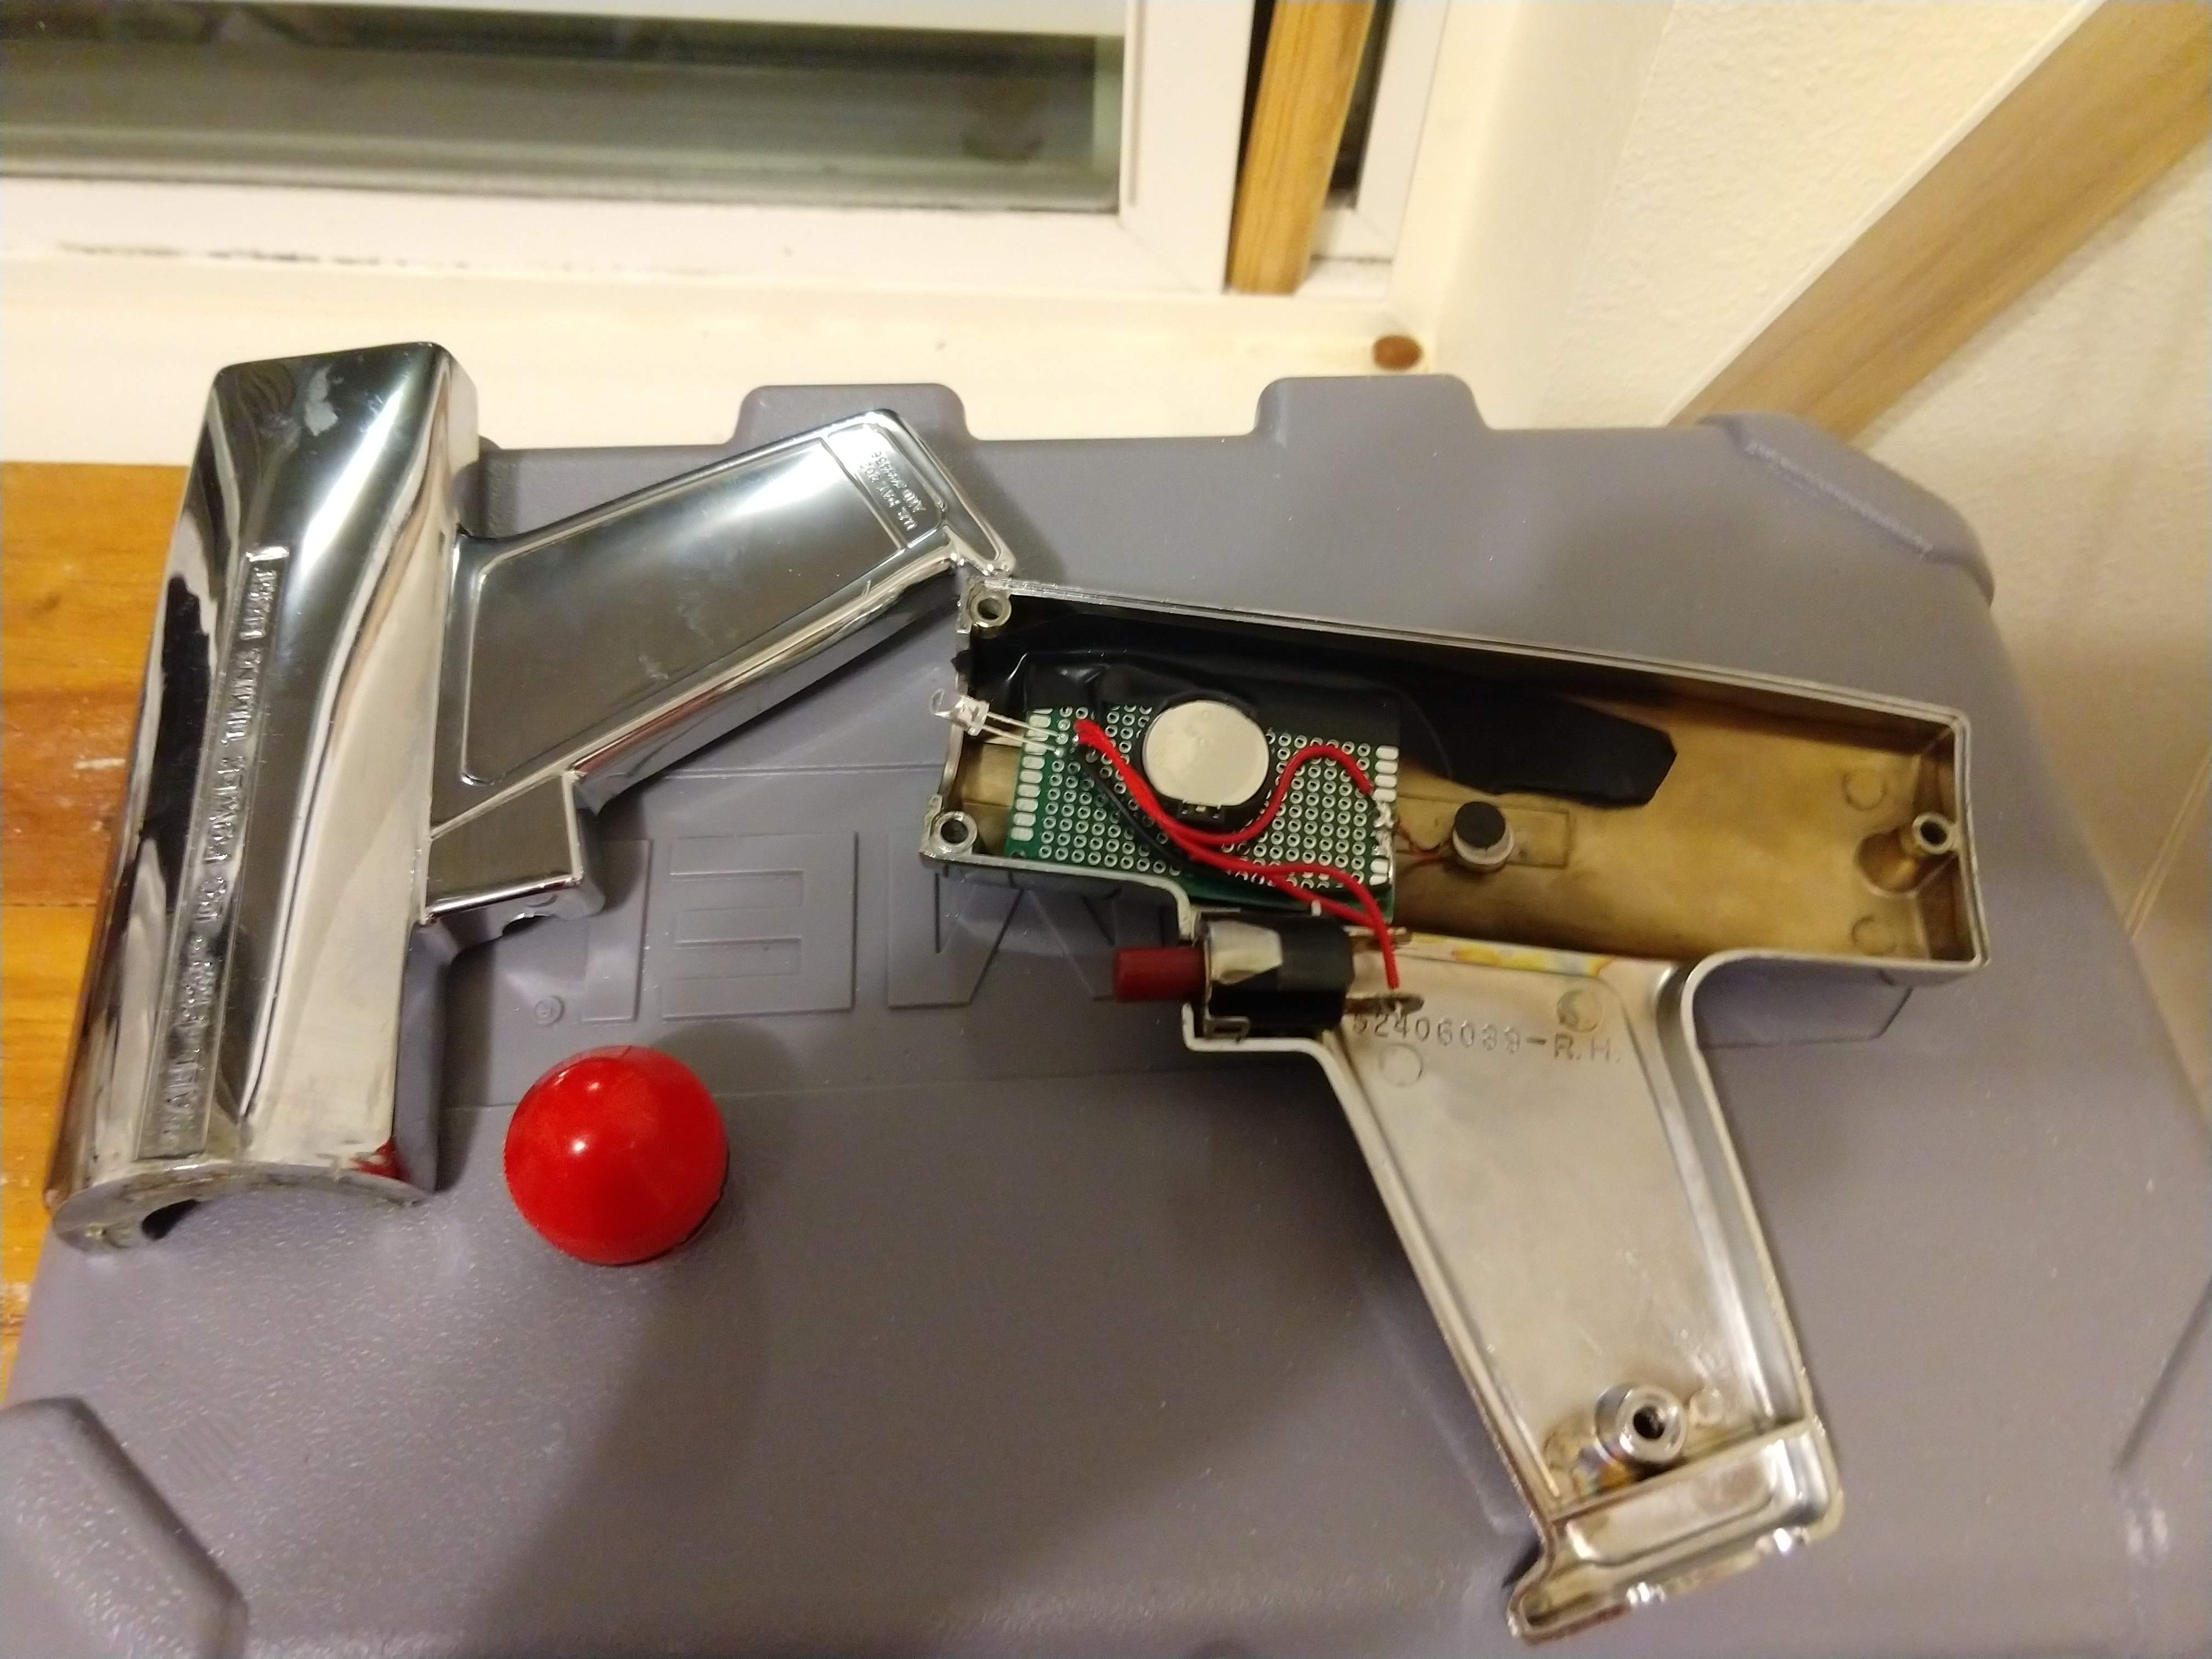
The next step was to dismantle the timing light and see if any of the innards were useful. Turned out, mostly no, not for the project. However they were rather interesting. 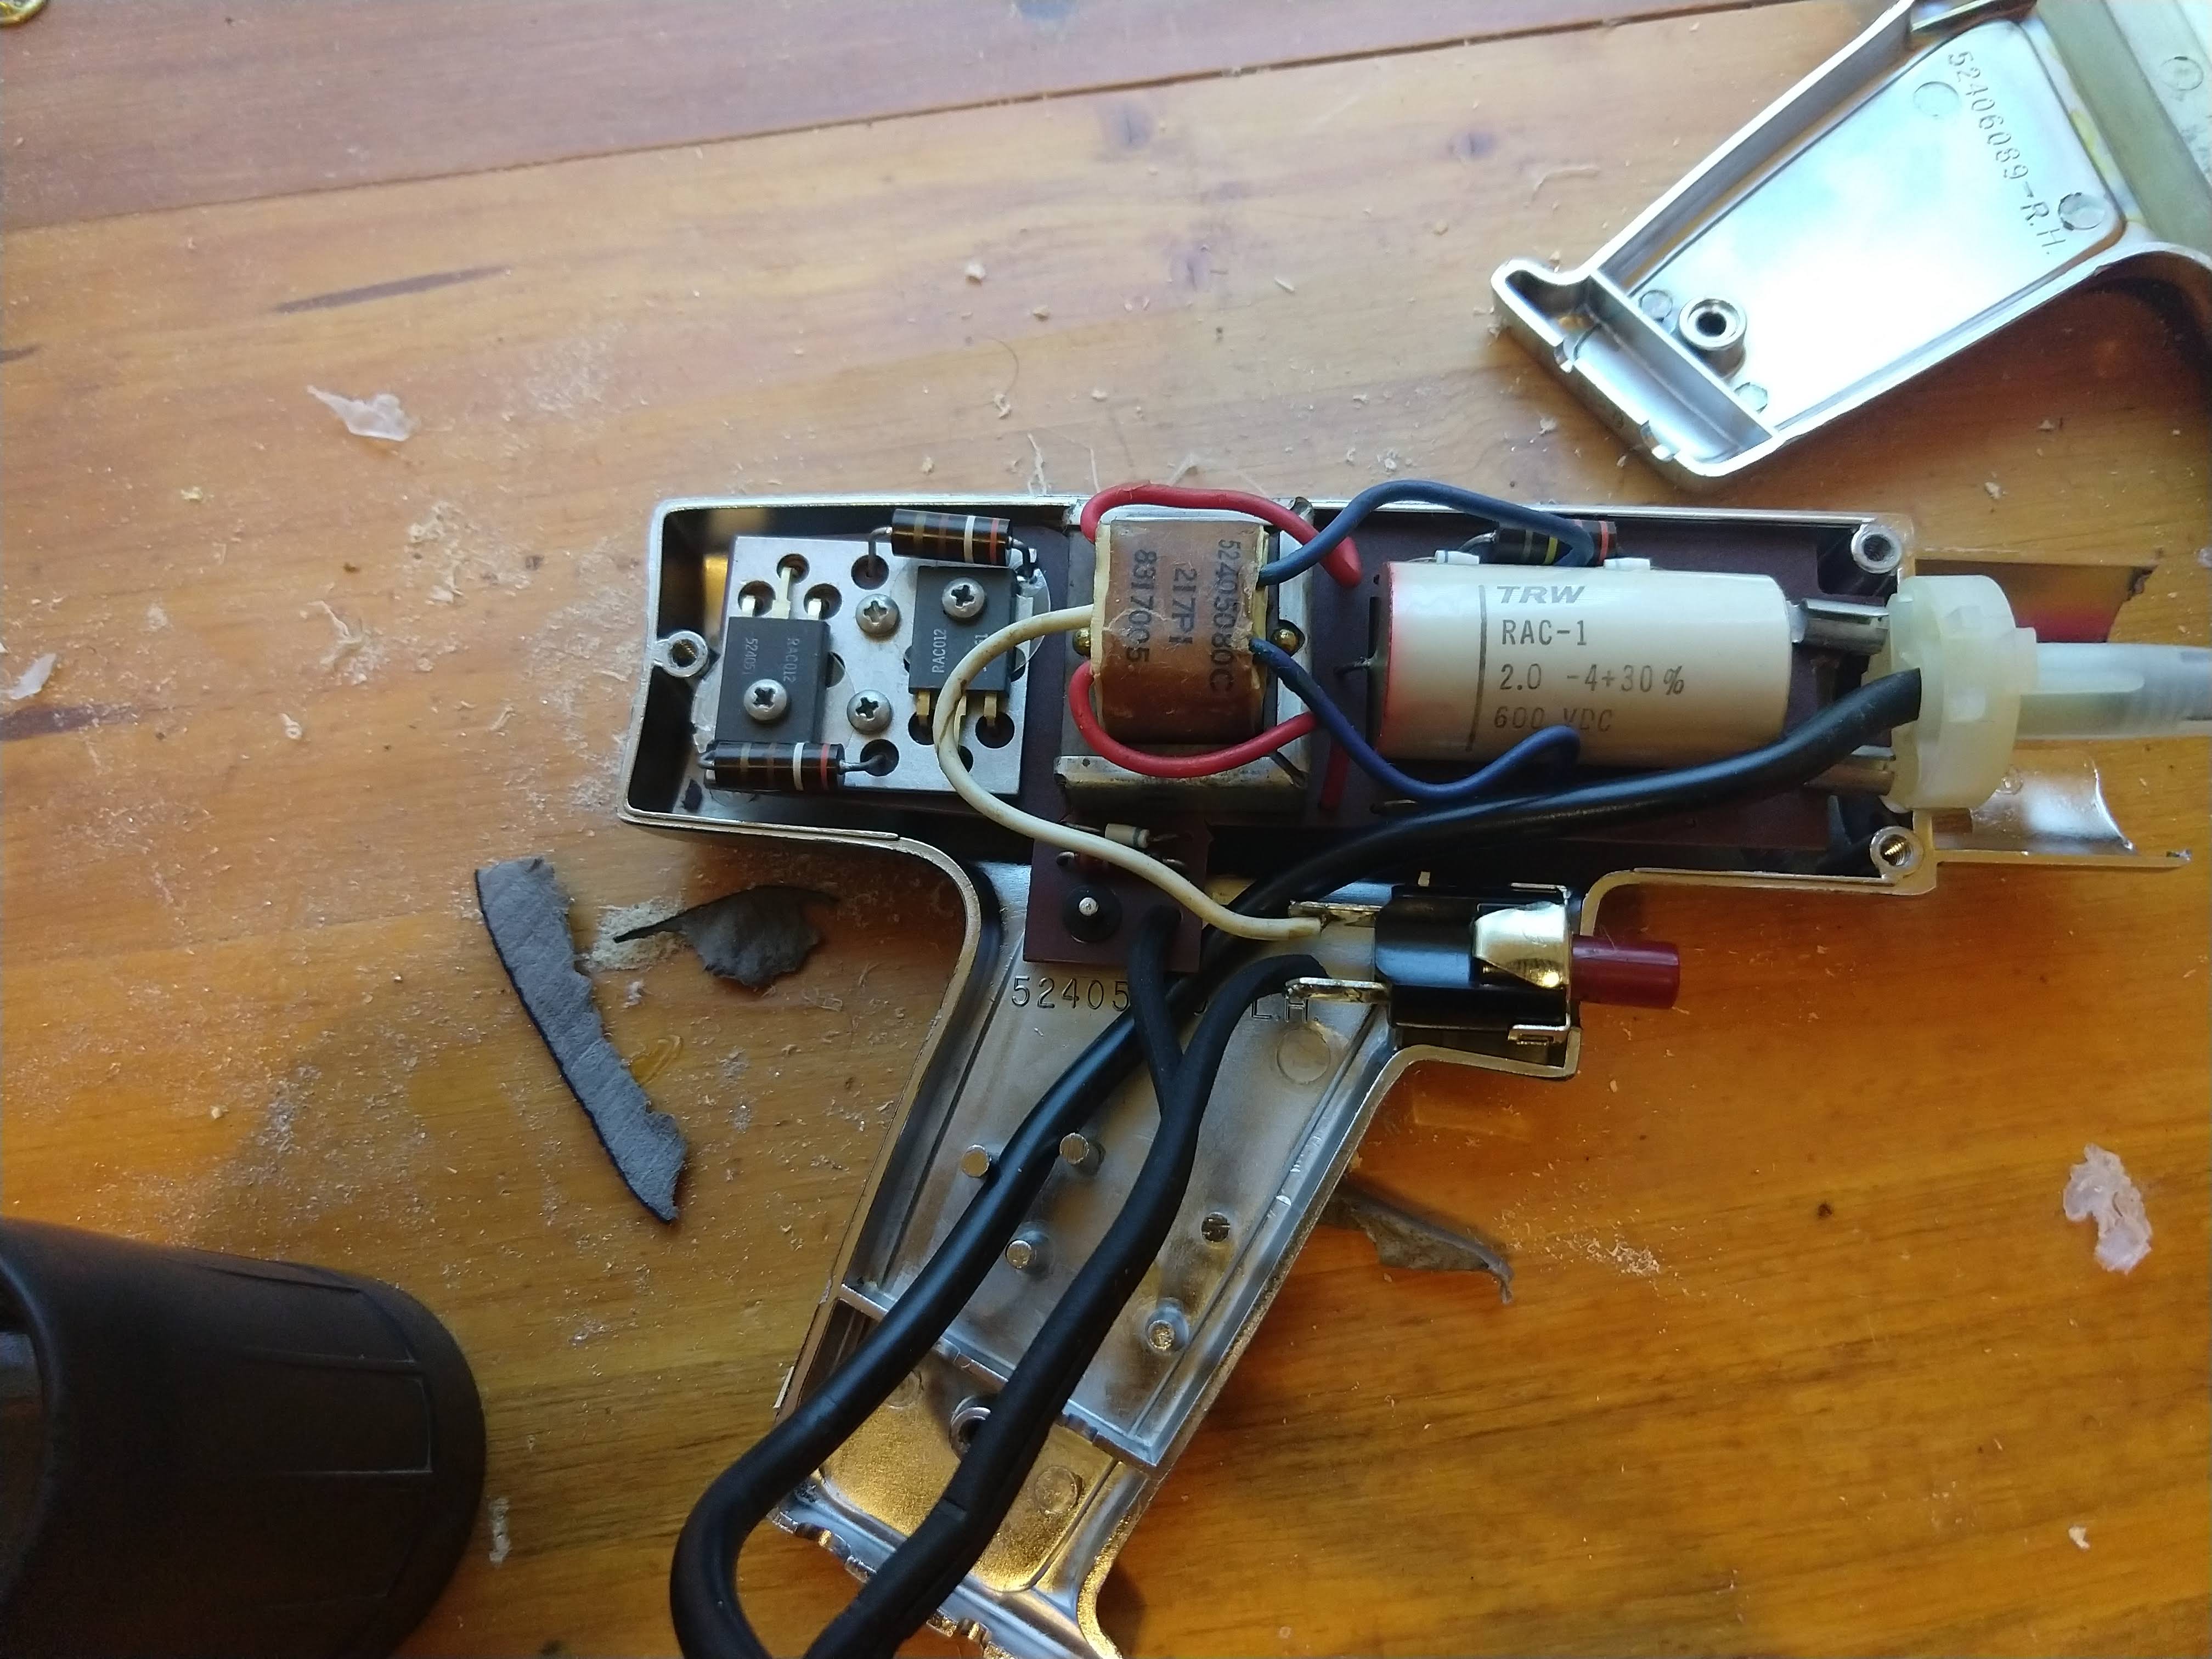
You can see a heavy circuit board with some diodes, a transformer, and a tube light. All these I removed, but I left the “trigger” button in place. The next step was to make some modifications to the housing.
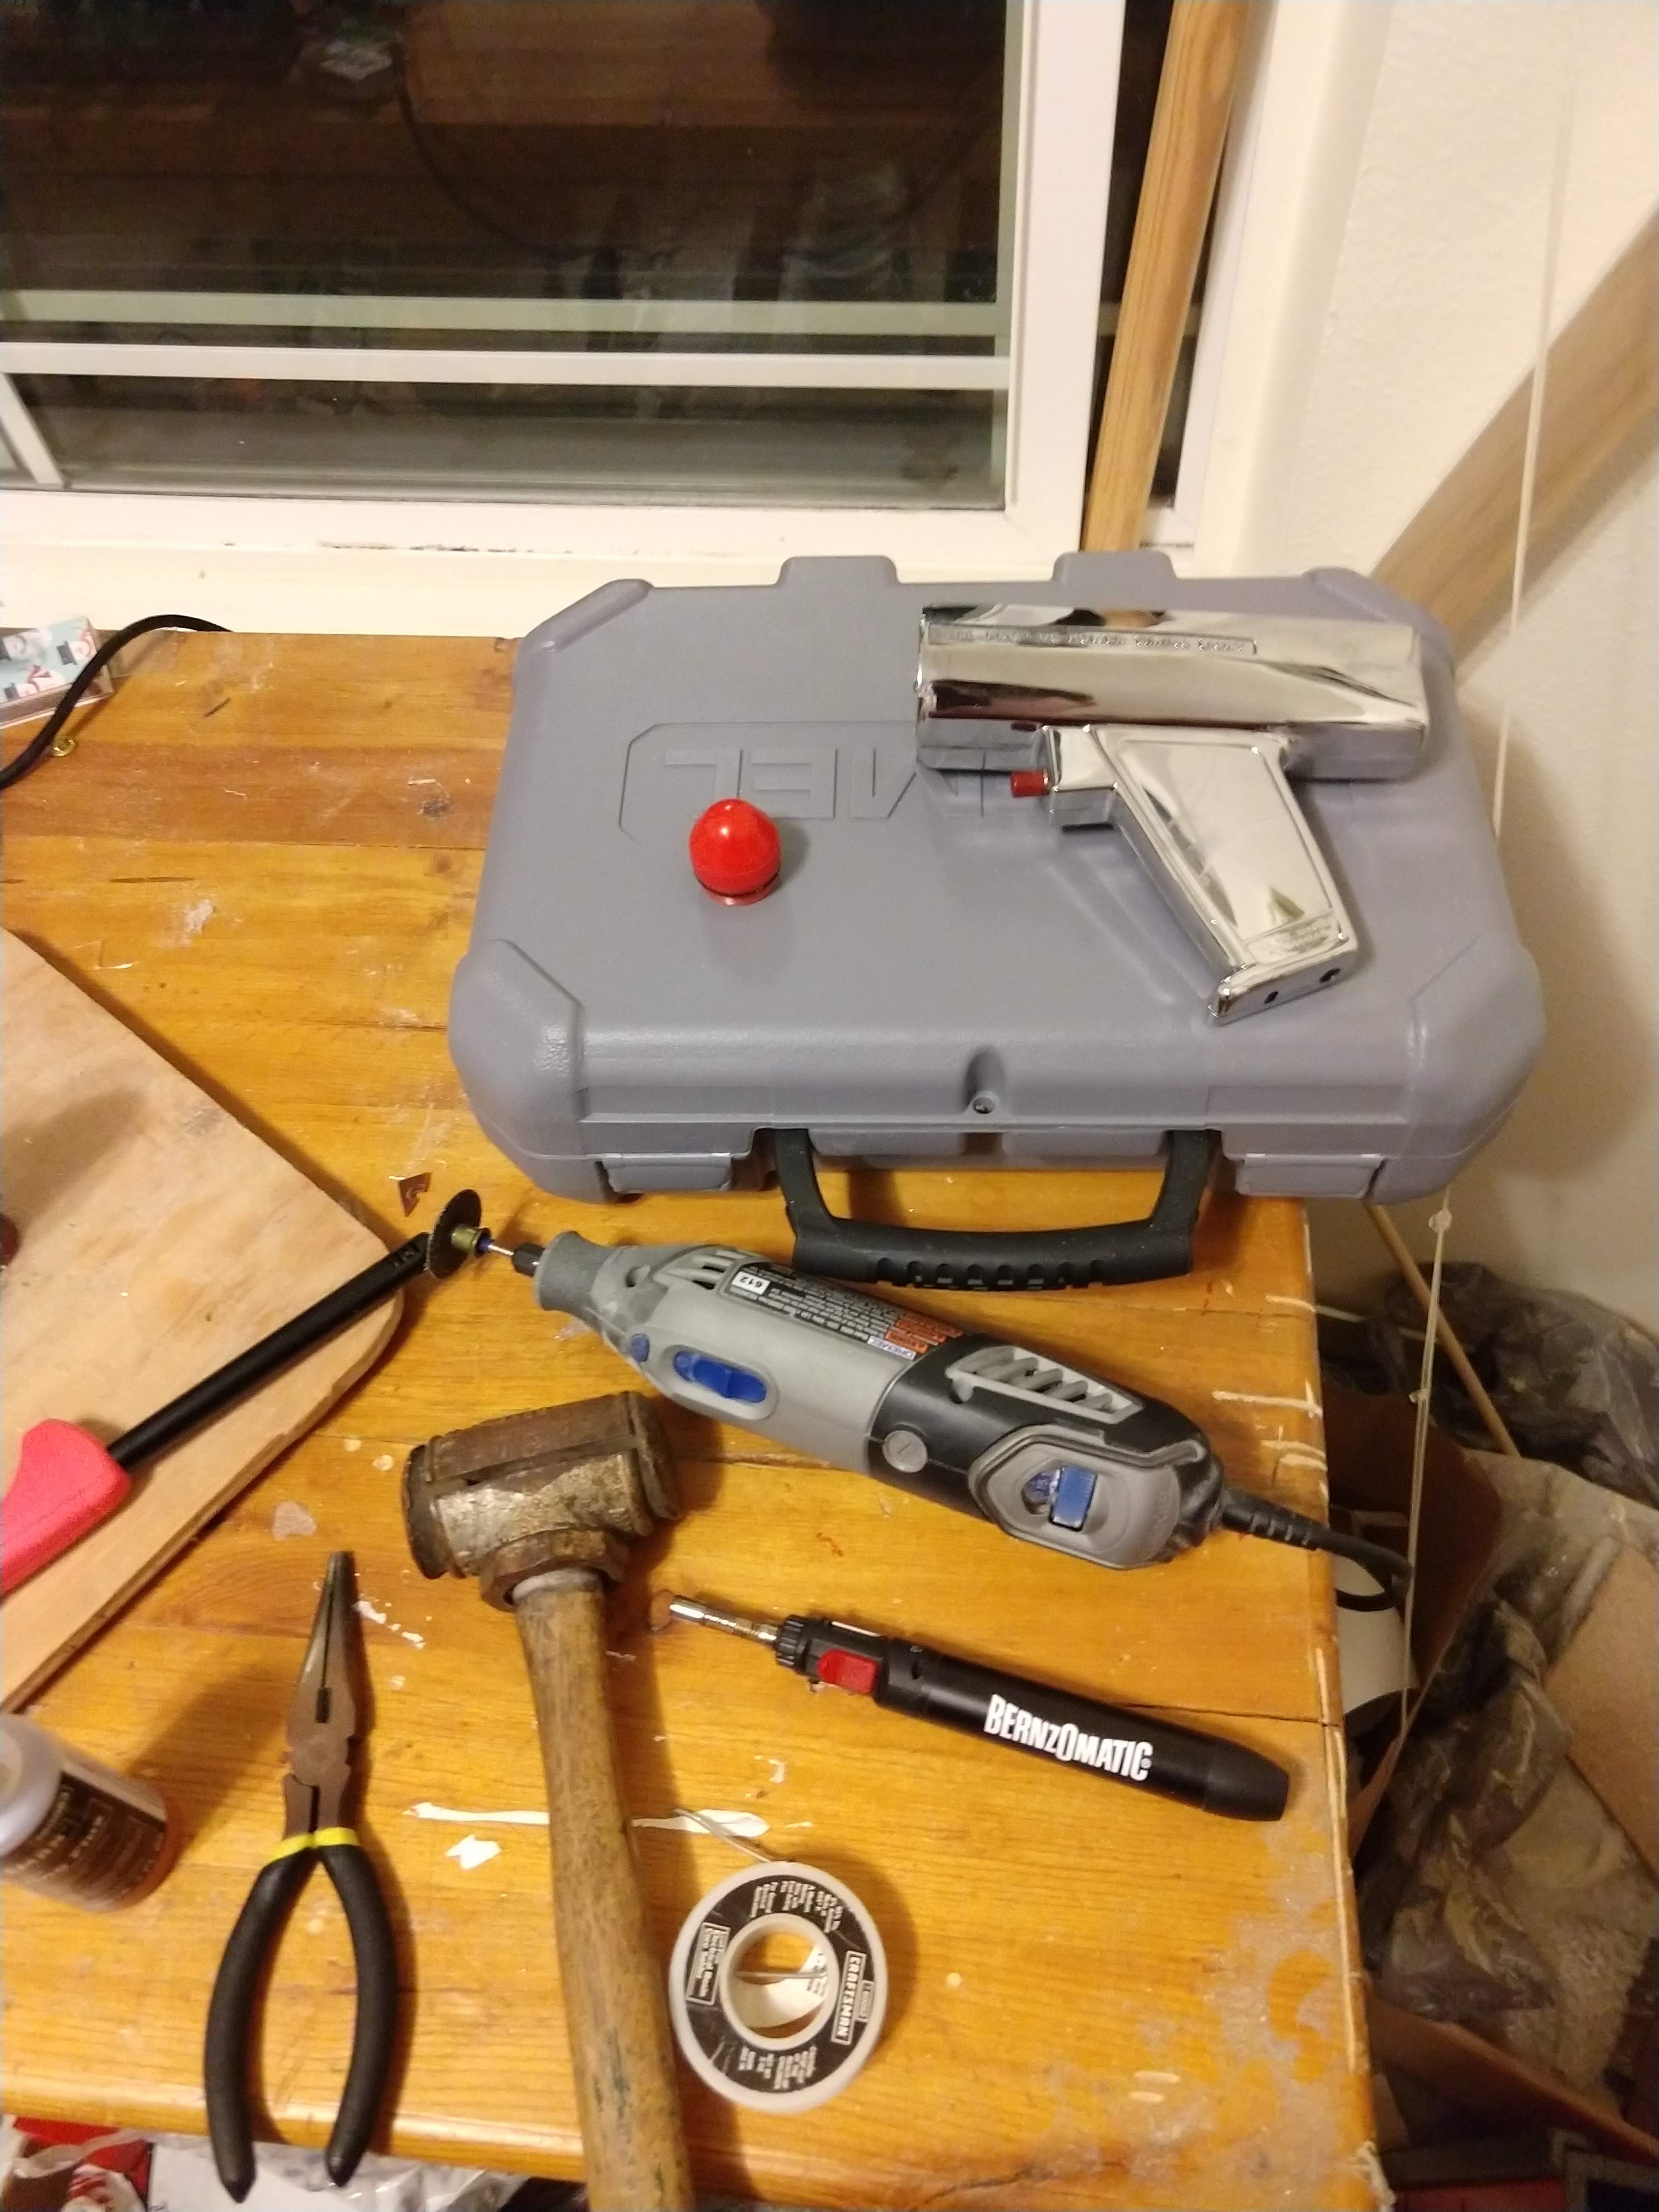
First, I removed all the circuitry. Then I dremeled off the mounting bracket for the rubber spacer. Had fully intended to solder on a larger brass spacer of my own, but as it turned out, my butane torch couldn’t generate enough heat to do what I wanted to do. So that plan was abandoned. The next step was to desolder the awesome trigger button from the timing light’s circuit and create my own circuit to attach it to.
Much Ado About Lase Sounds
My first inclination was to create something with a speaker and a 555 timer. I built the circuit on a protoboard. Alas, in my hubris, I didn’t do it on a breadboard. The circuit would not work. After debugging and inspection I found I had mistaking a purple line on a resistor for a brown line and the resistor in the circuit was off by a rather large multiple of ten. I replaced it. Still no sound. I desoldered the speaker and then took the PCB out of an old Jetfire Transformers toy (which I had used for one of my very first soldering projects when I was a kid, later repaired it, and was now going to re-use again). I desoldered the tiny speaker and put on my large one, supplied it with some voltage, and hit the little button on the PCB…
STILL NOTHING!
It was at this point I realized my 8 ohm speaker was defective. I had mangled a collectible and wasted a perfectly good proto board thinking that I was an inept circuit designer.
Rather than go back to my protoboard, I decided to continue with the Jetfire approach.
Adding Some Realism and a Capacitor
The Jetfire circuit was quite simple: a blog that lit an LED and could play three different sound recordings: a laser, a laser with more bass, and a recording of a launch sequence. The latter wasn’t very useful, it was the laser sounds I was interested in. I also wanted to add even more realism: when the gun fired, I wanted to be able to feel it. I wired up a circuit with a CR2032 battery holder, a super-bright red LED, and a coin cell vibrator. I tested this with the red pilot light cover and the push button switch (see below). Illumination was great, the vibrator worked fantastically well.
The next step was to add the Jetfire PCB and big speaker. After some mucking about, I encountered some problems. First off, the clacky, bulky, timing light button that was being used for the trigger did not function the same as the little clicky through-hole buttons that were originally on the Jetfire PCB. The blob would get confused and just start playing just the first bit of audio on loop. I do not recall exactly it’s behavior, but through forgotten logic, I conceived that the solution was to add a capacitor. And it worked.
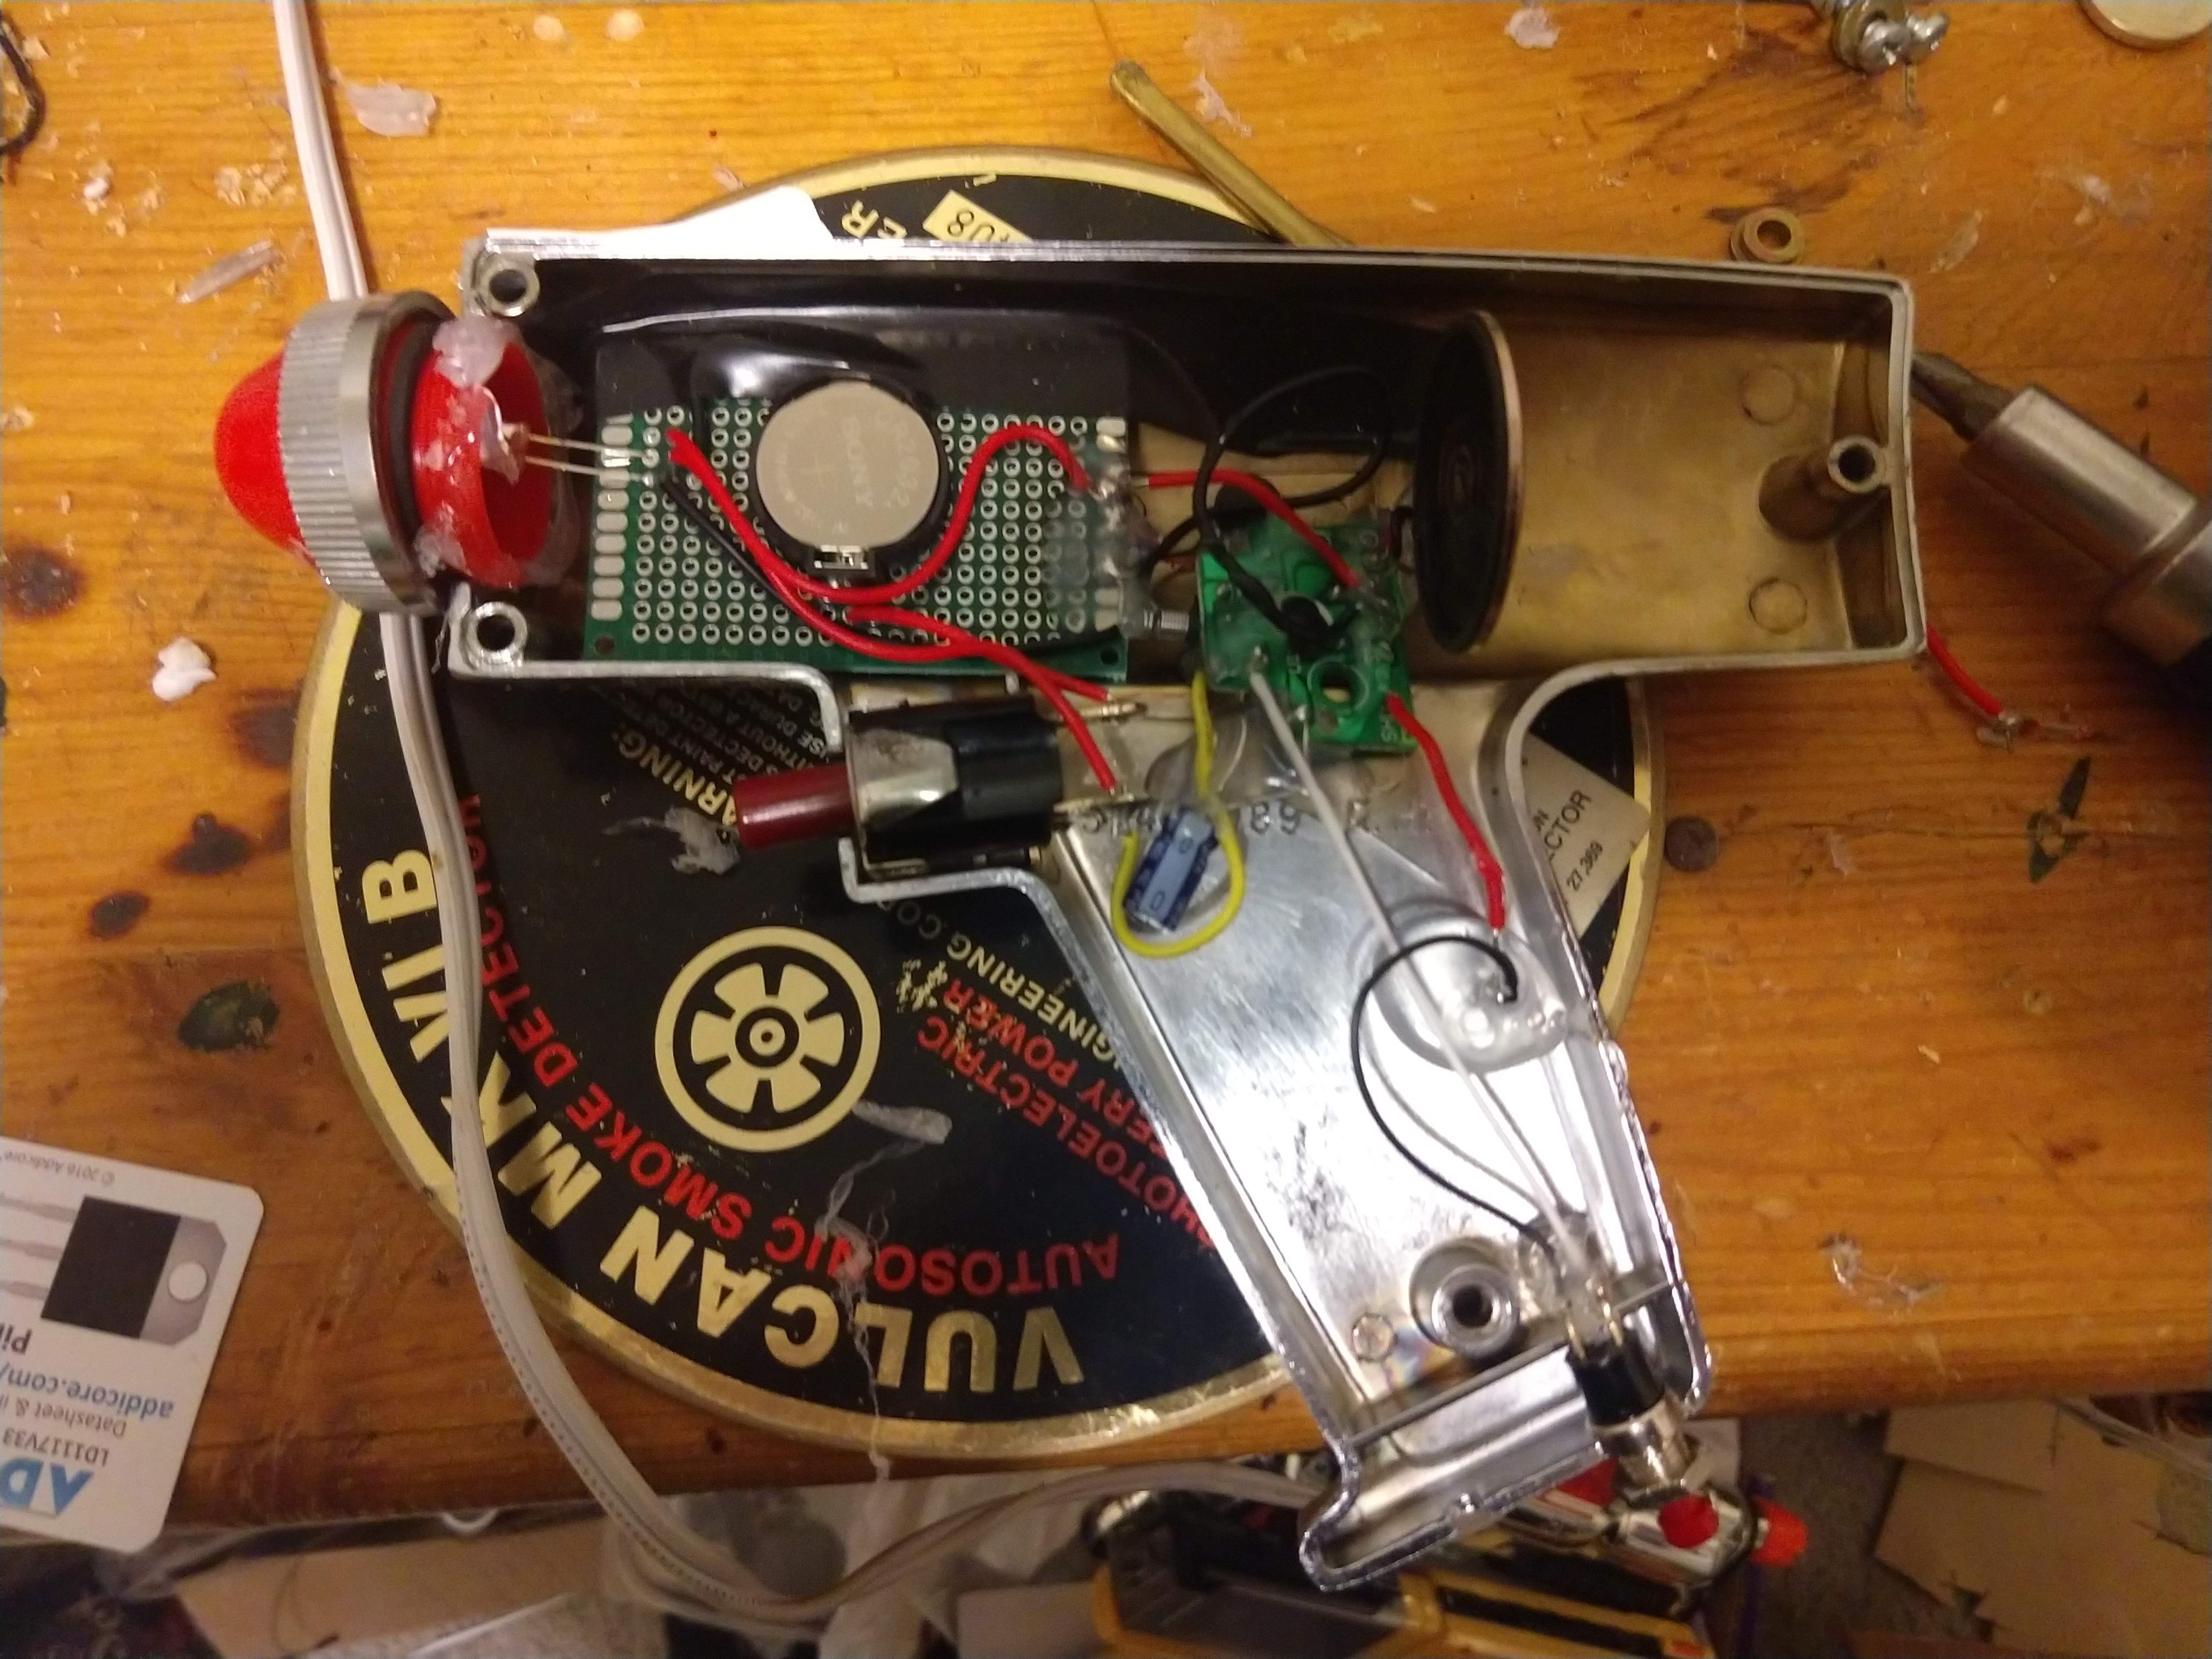
The next issue was sound quality. Even with the larger speaker, the sound was still incredibly faint inside the metal housing. First inclinations were to drill holes in the housing to let the sound out. But this would have destroyed the project aesthetically. I didn’t want to try and source an audio amplifier and add even more circuitry to the already over-burdened CR2032, plus most through-hole audio amps run at 5V minimum and that would have meant adding a step-up and a transistor… so what about acoustics? Sound resonates in a tube, the gun “barrel” is roughly tube-shaped, why not mount the speaker so it points down the barrel of the gun? This turned out to be a good compromise. The audio quality was roughly as good as before when Jetfire circuit was in a plastic housing attached to a nickle-size speaker. For the cherry on top I wired up a second button to access the other laser sound, widened a whole in the handle of the gun, and bolted the button in place. Below you can see the finished innards.
The Finished Product
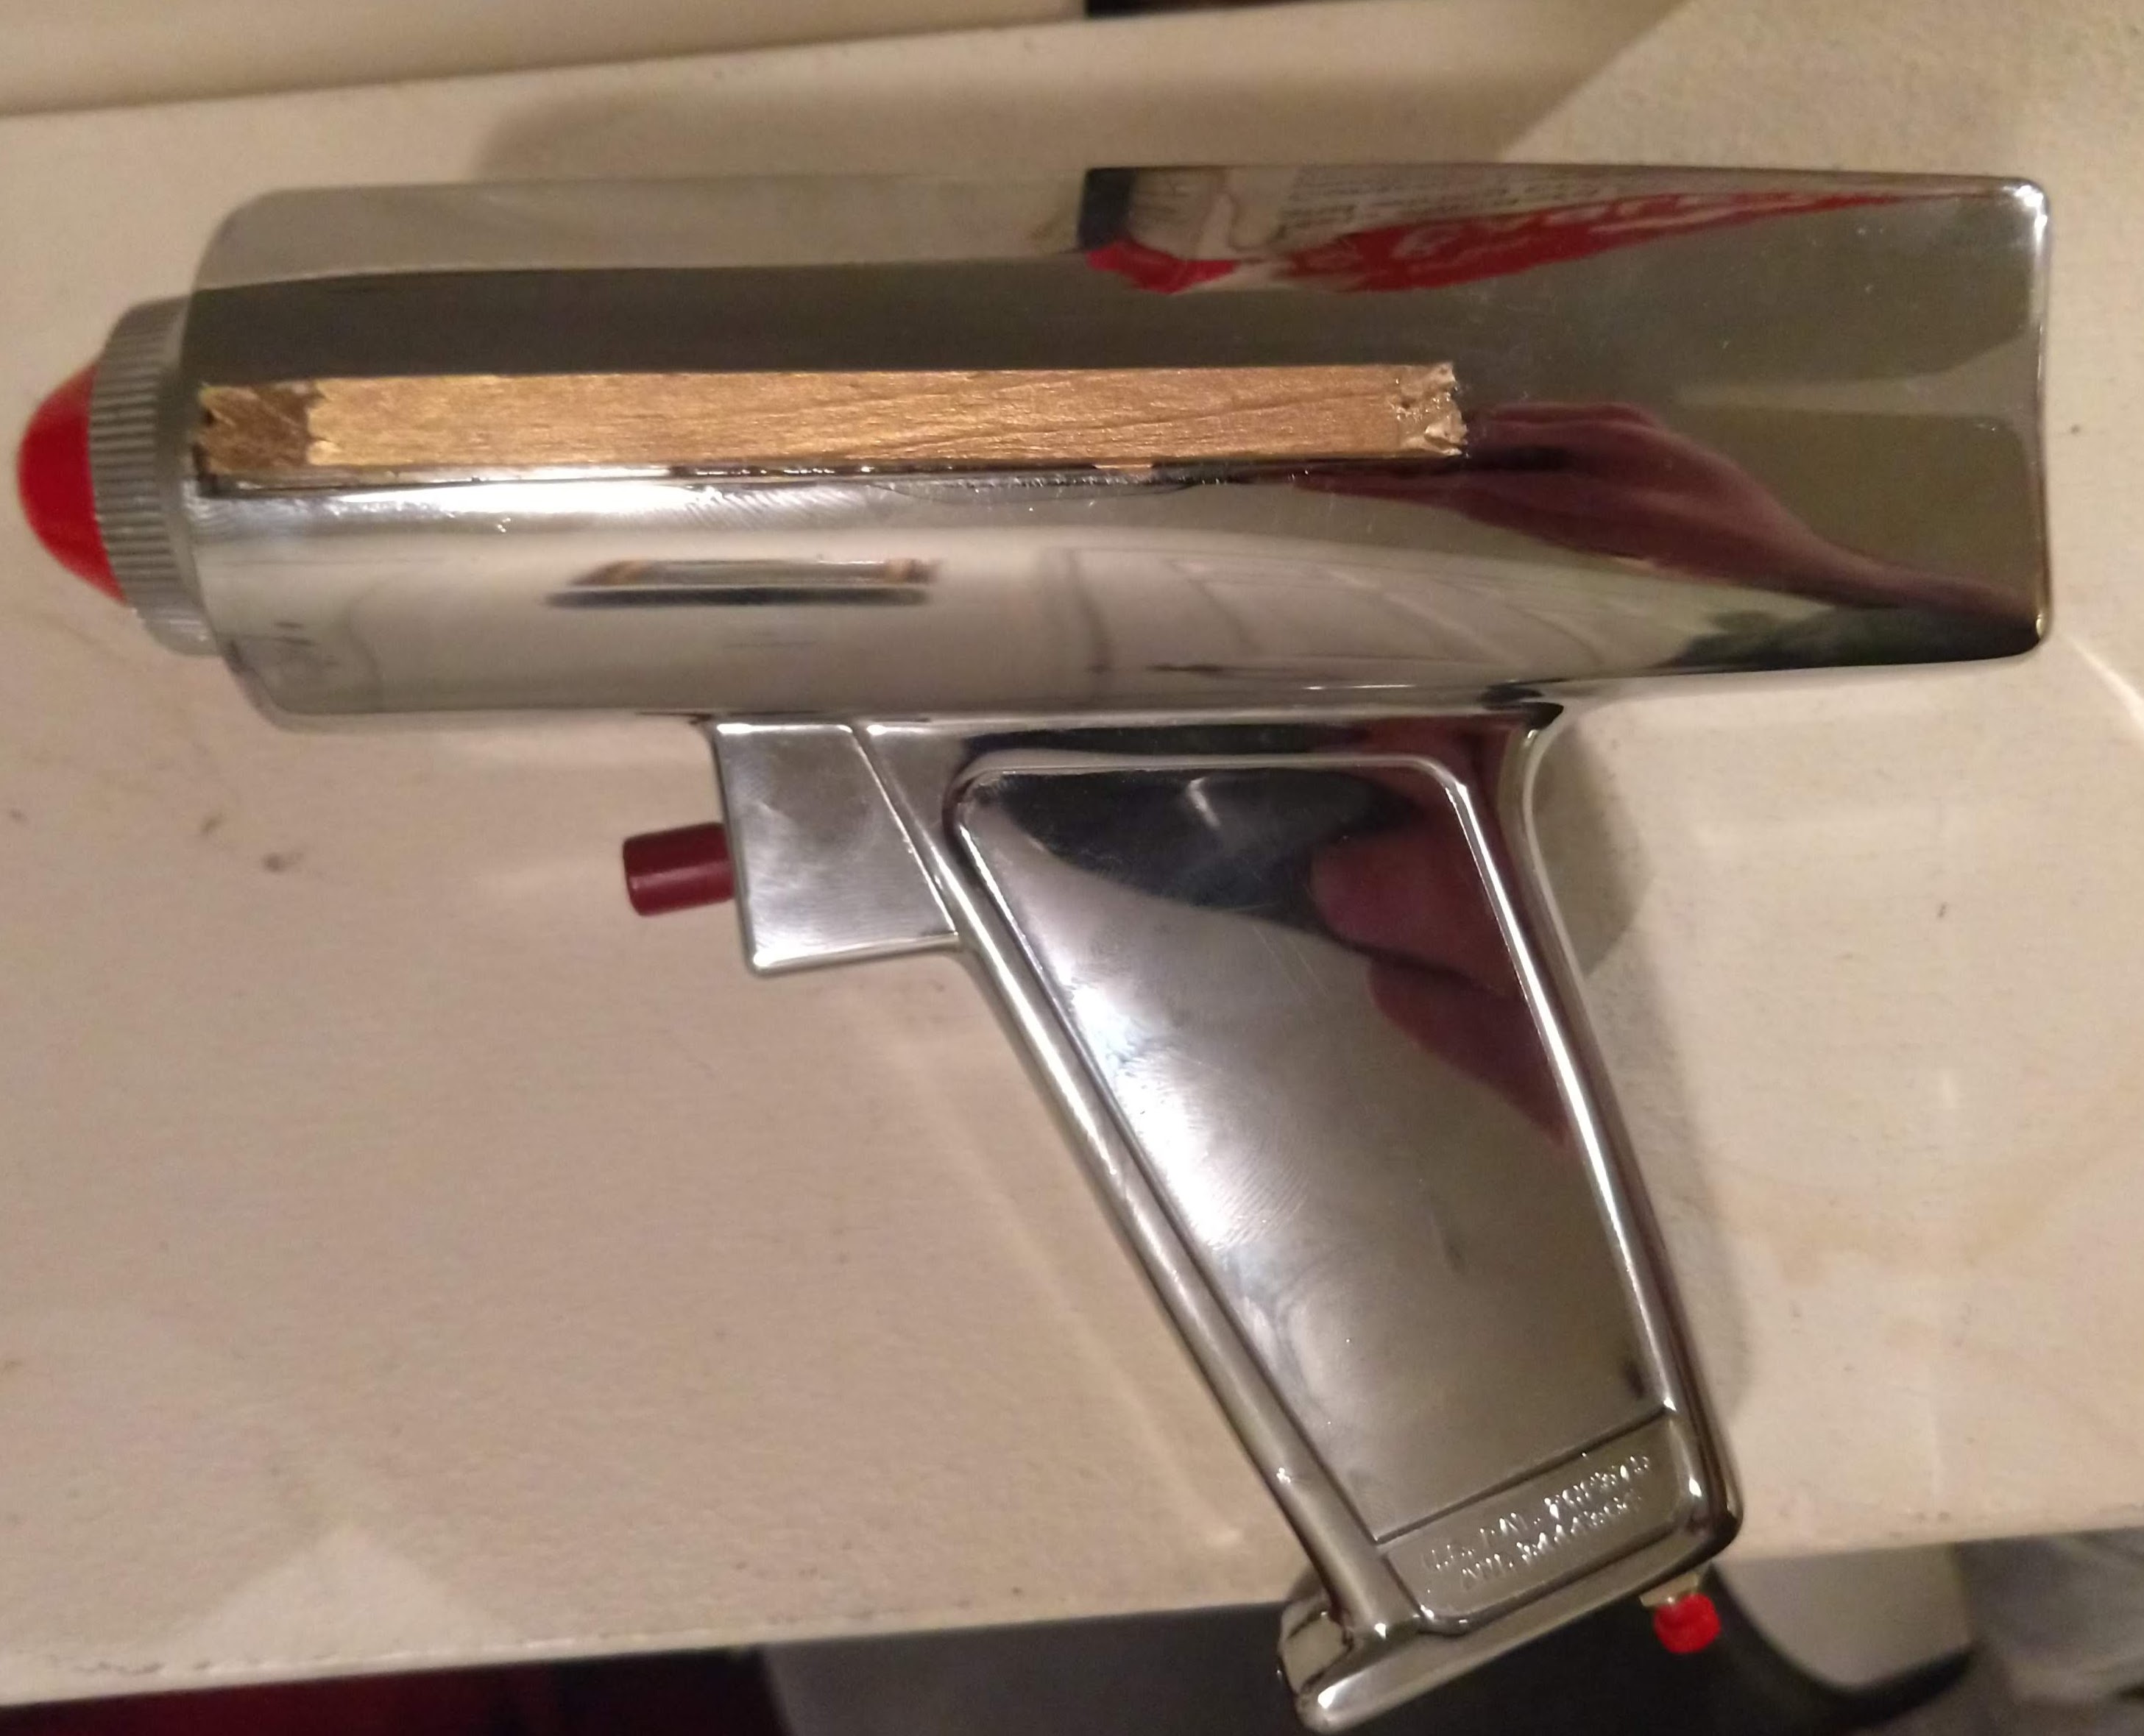
I had, initially, wanted to solder or weld some brass bits onto the outside to cover some of the less desired aspects of the housing (as shown below there were some marking along the side I didn’t particularly care for). Unfortunately shaping and welding the brass bits was a bit outside my skill set, and even if I felt adventurous, I didn’t have all the proper tools.
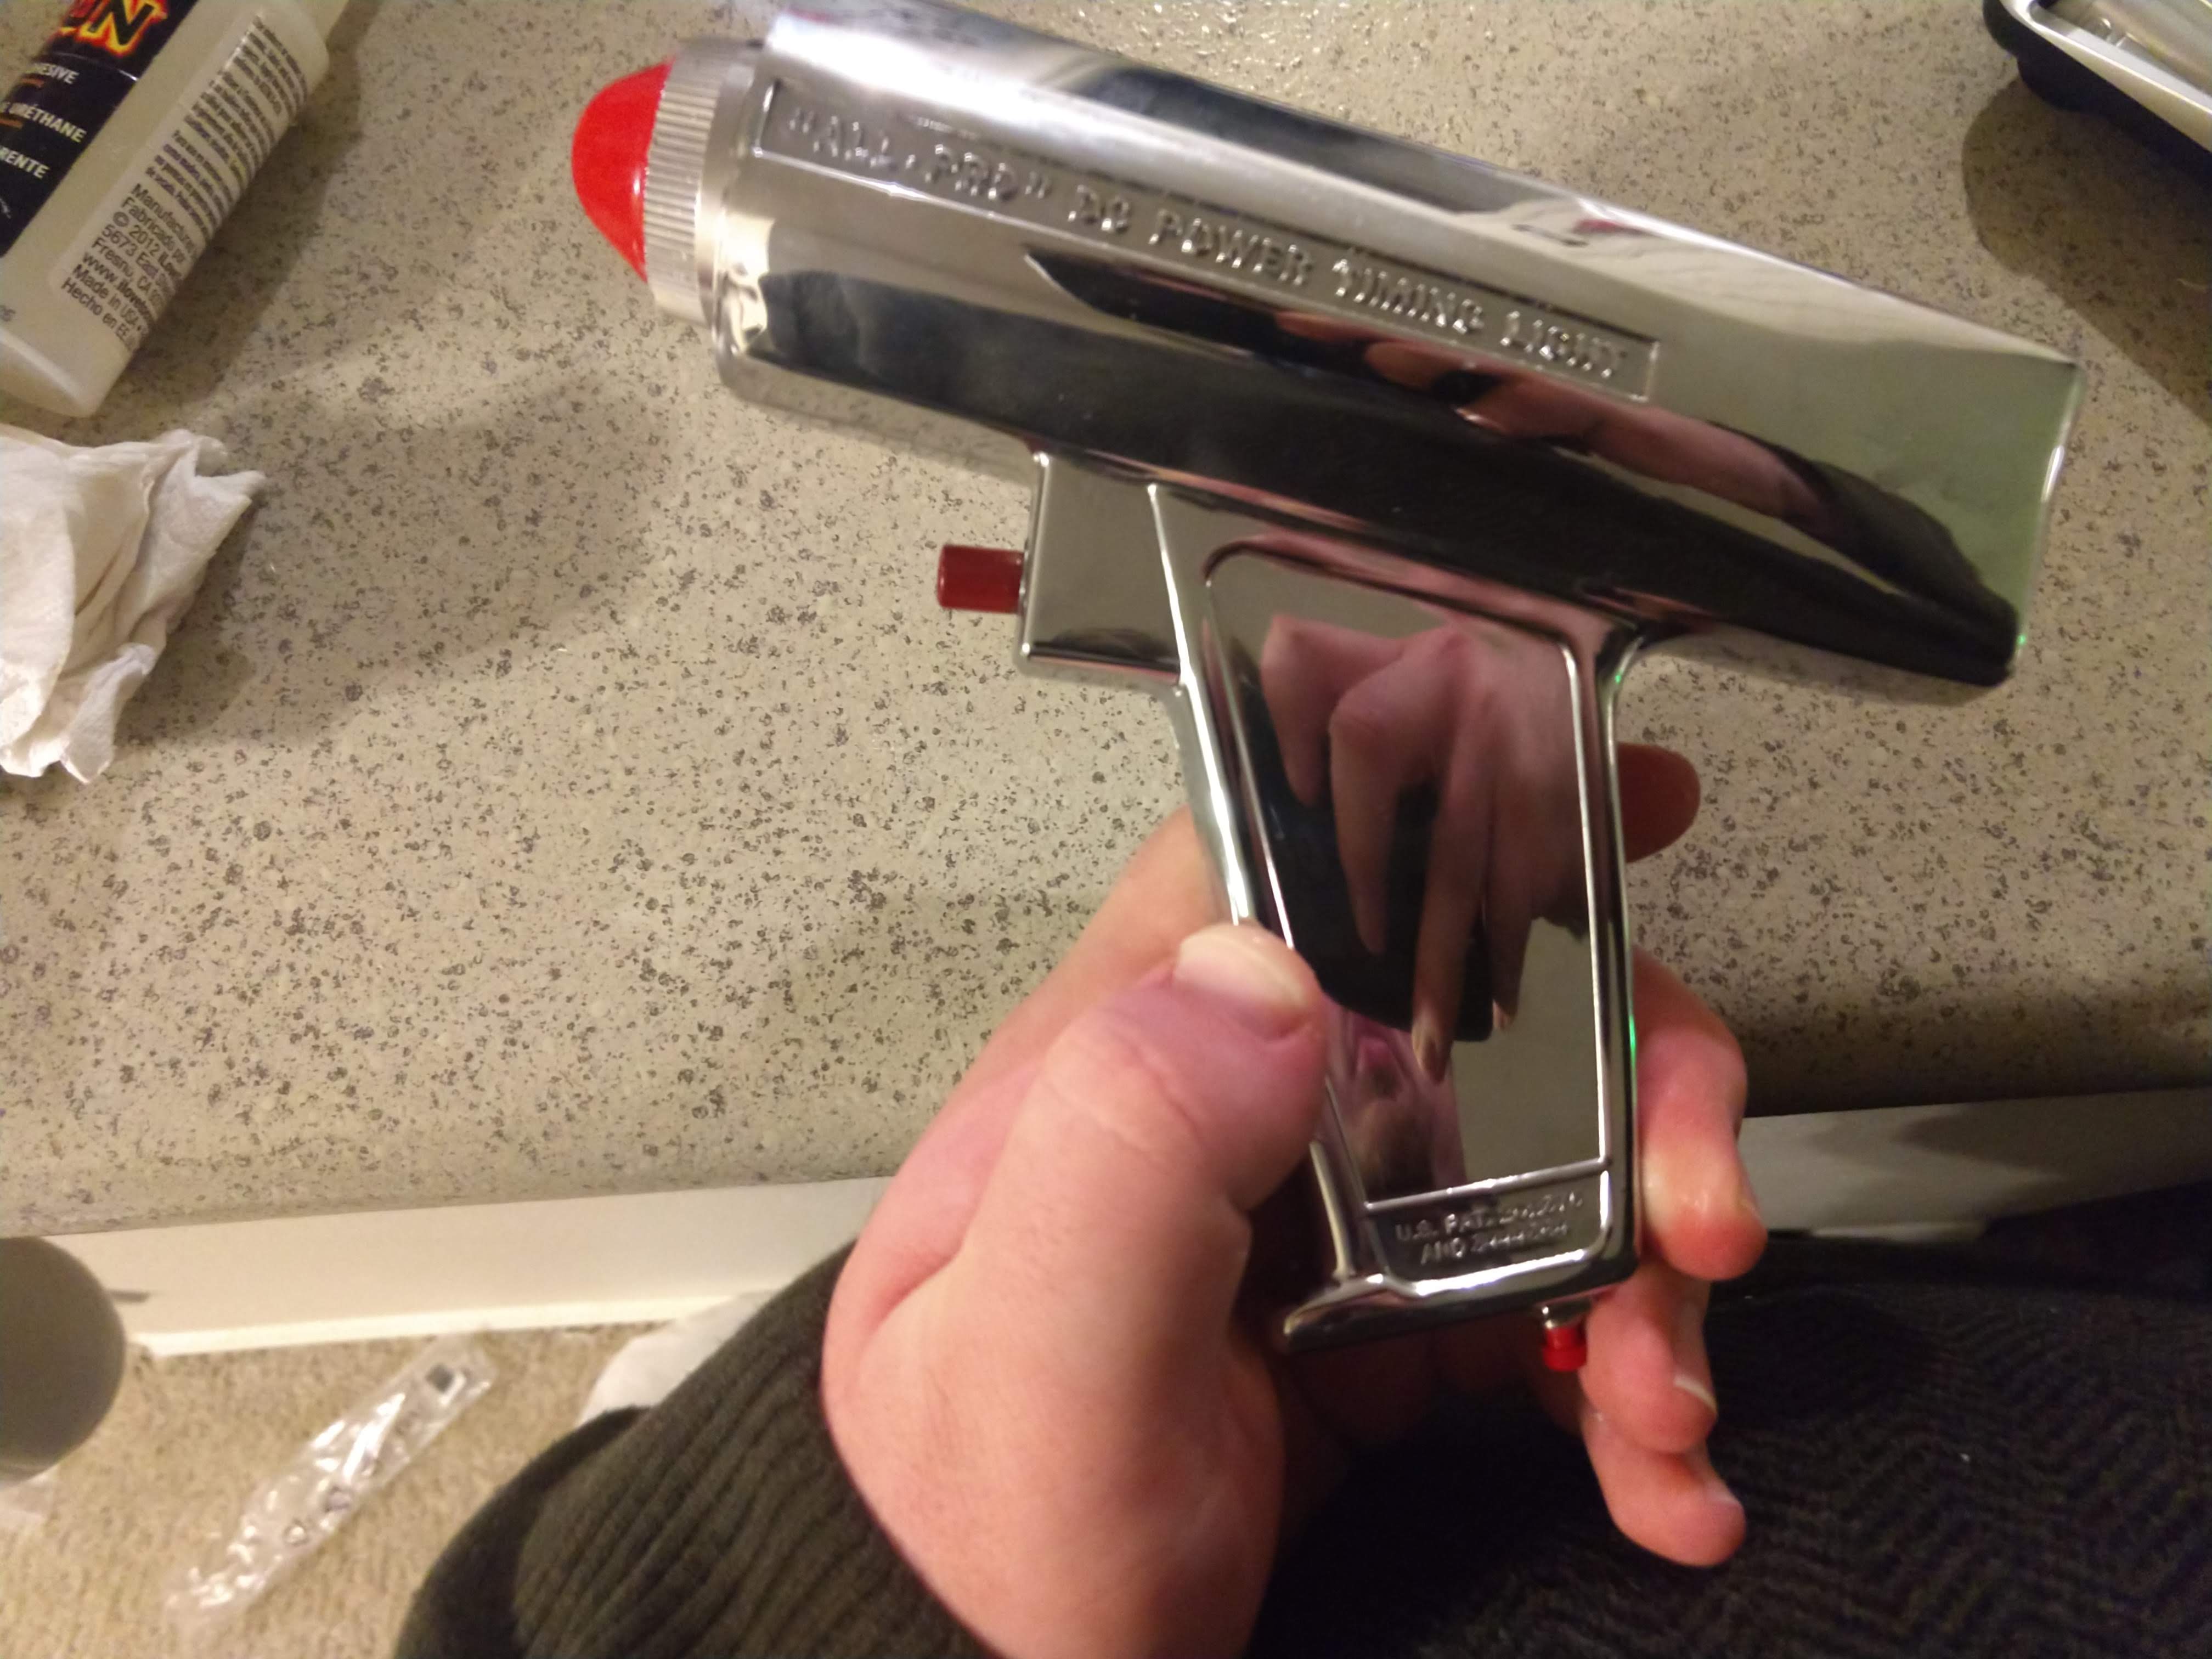
I settled instead for cutting some strips of wood and painting them. The finished result is sleek, not too obnoxious, and most of all feels real! at some point I may get some vinyl or leather for the inset grip, but I am quite proud of the end result.