Hello world!
I have not updated this blog in a while, and for good reason. Two months ago yesterday I started my first engineering job at Genie Industries. I have moved to Renton, and it took me some time to get unpacked enough to start working on projects. So without further ado, allow me to introduce my latest project: The Swiss Army Box.
I wanted to build something that didn’t involve coding or embedded systems- just simple electricity doing it’s thing.
I scraped together some components and pulled a wooden box off my shelf and decided to get started.
The basic components I had were:
- A switch with a built-in lamp
- An outlet with USB charging ports
- A light bulb socket
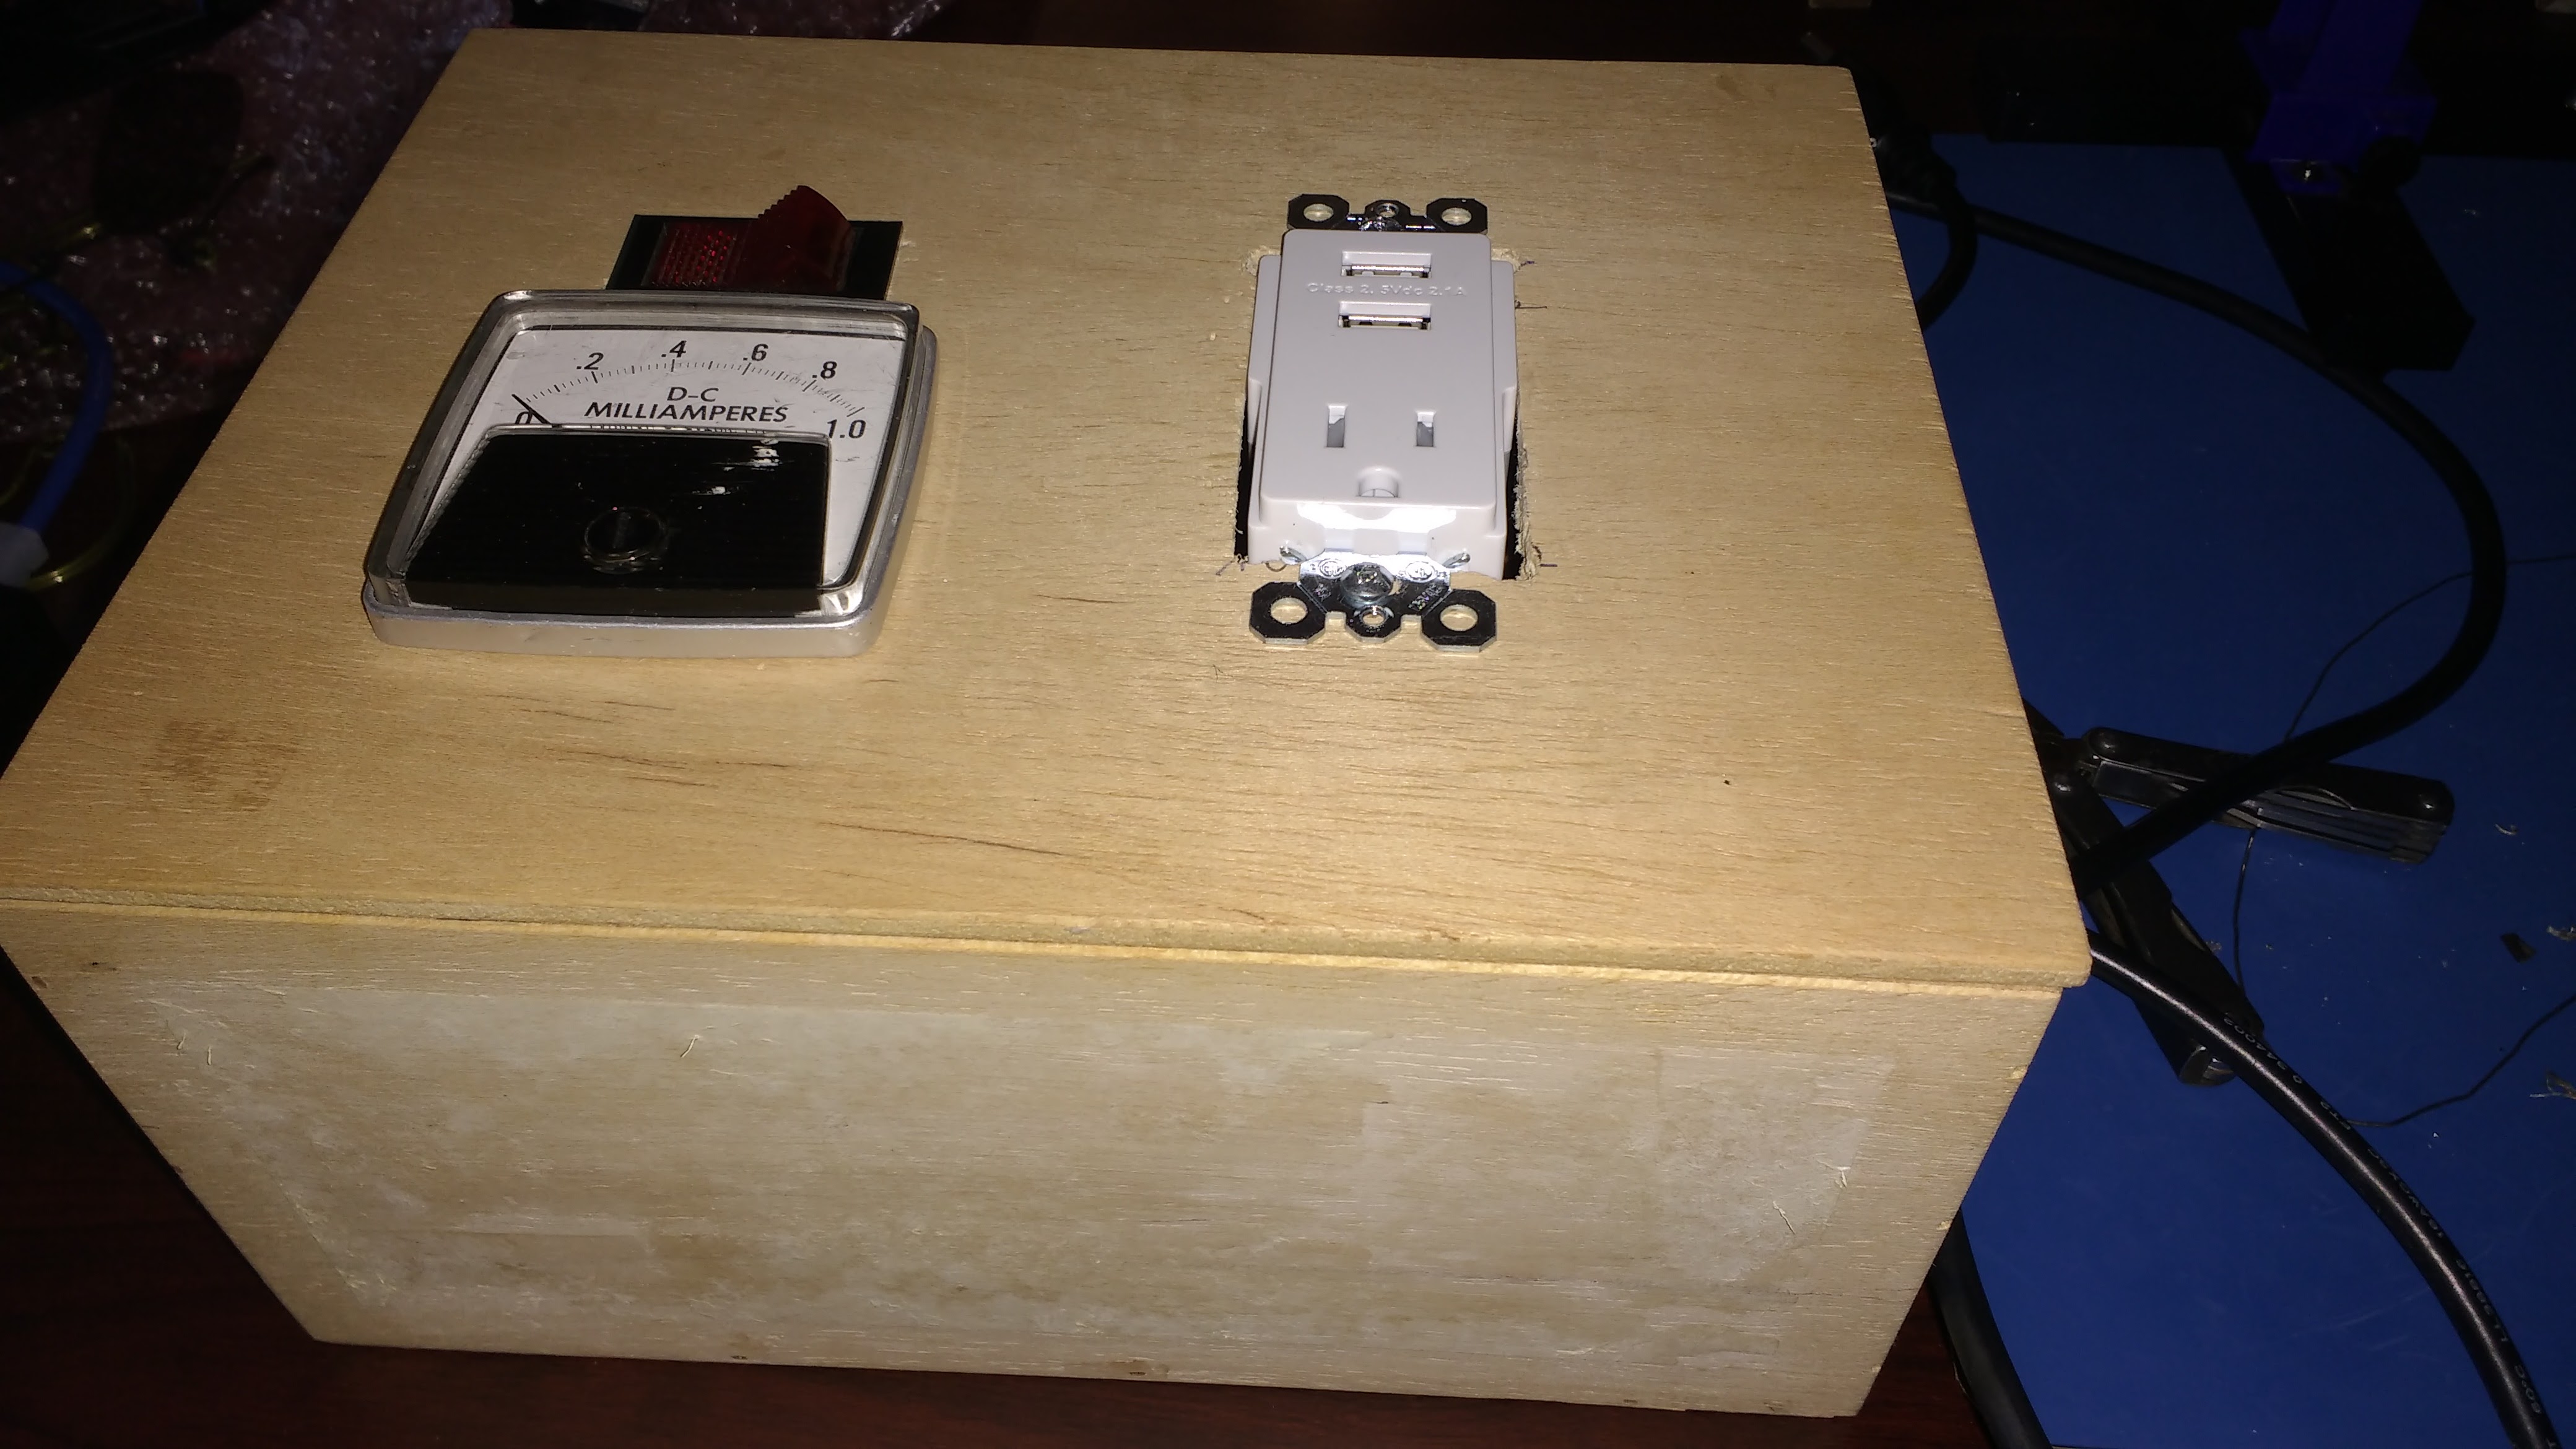
- An analog ampmeter
The first task was to figure out what voltage and current the switch was rated for. A switch is a simple device that is used to connect and disconnect a wire. Switches are rated to carry a certain load, in other words, there is a maximum amount of current a voltage a switch can handle before it becomes a fire hazard. Usually this information is either printed or engraved on the side of the switch’s packaging (see below).
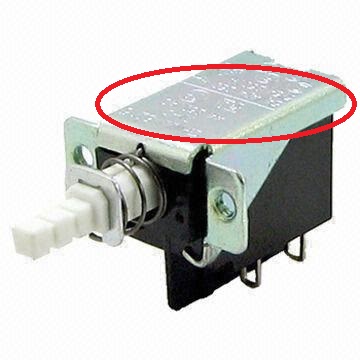
Sadly, the switch I was using had no such information on it. I had salvaged it from a a panel mount assembly in which it had been connected to a cigarette lighter socket, the type that are common on the dashboard of cars. These sockets output 12VDC, so I assumed that the lamp in the switch must be rated for twelve volts. This meant I would not be able to use the switch to control my outlet, since outlets operate at 120VAC. I required more hardware, I decided to sacrifice a 12VDC adapter cable.
What I found out was that there are actually two types of adapters: Regulated, and Unregulated. A regulated adapter uses a voltage regulator, whereas an unregulated one is a transformer. There are pros and cons to each one, but the main difference is that an unregulated “charging brick” ‘s output can actually vary depending on the load (the thing that it’s attached to). Keeping this in mind, I trudged on.
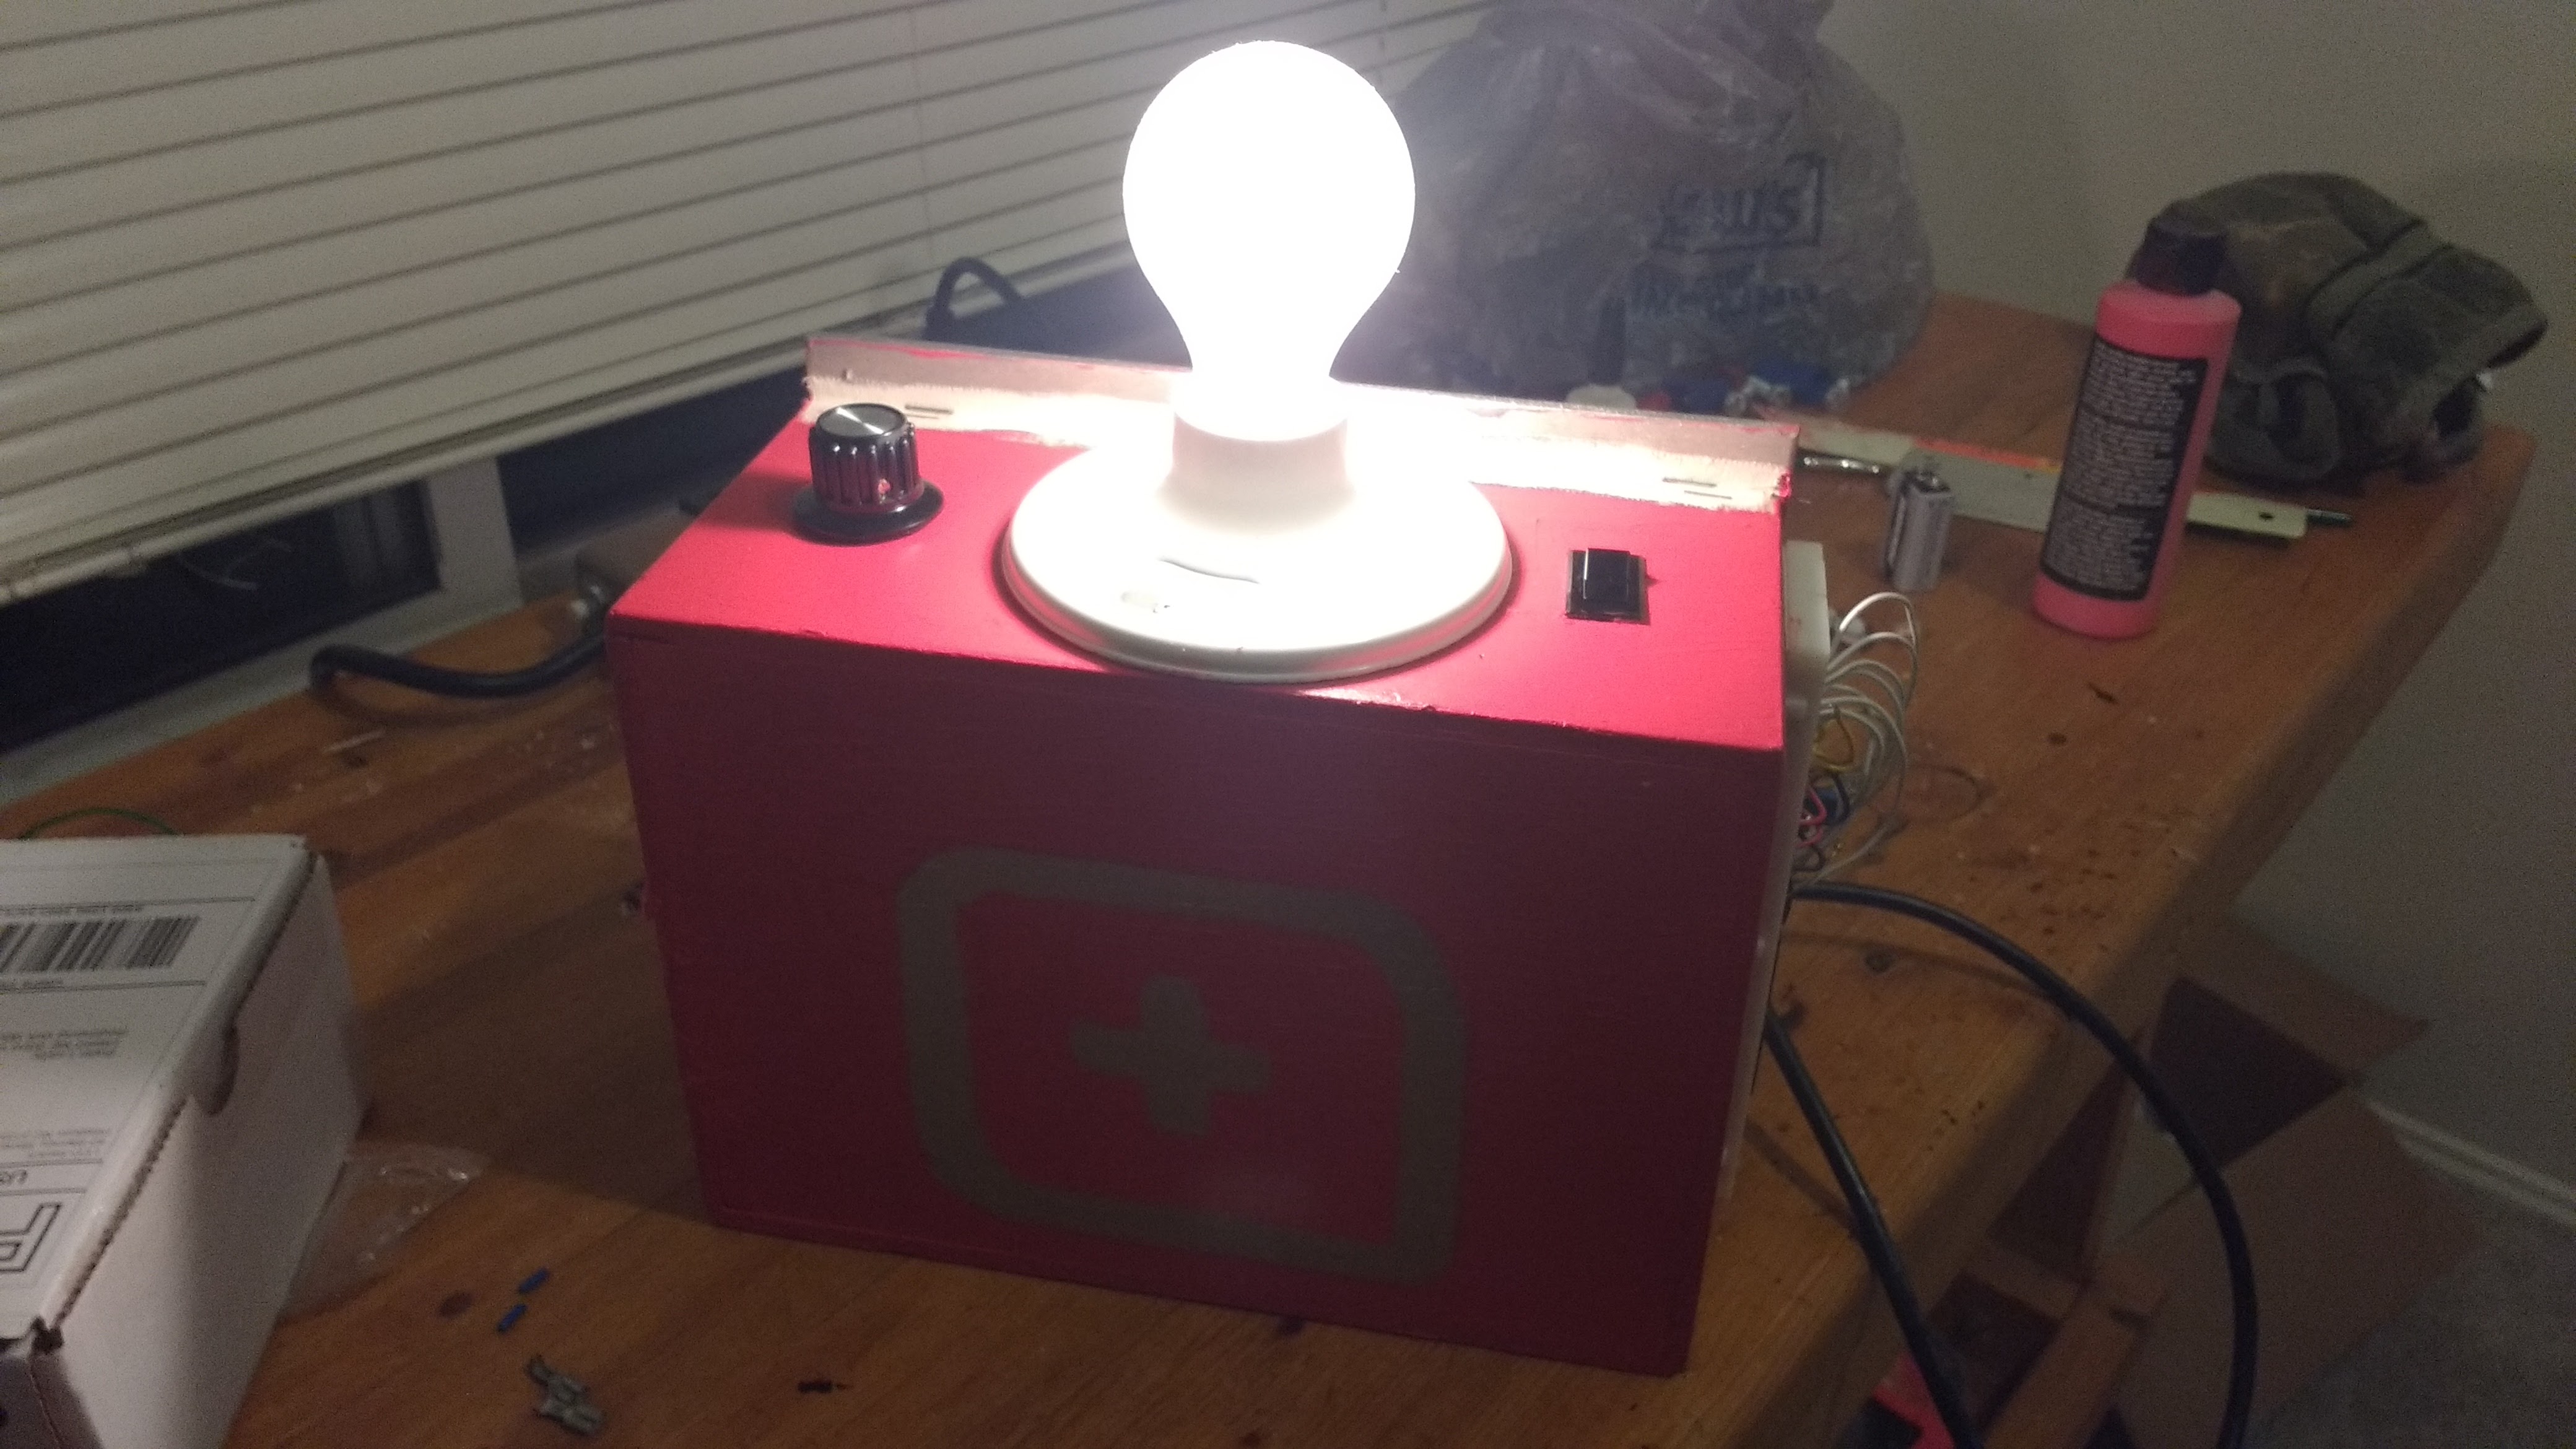
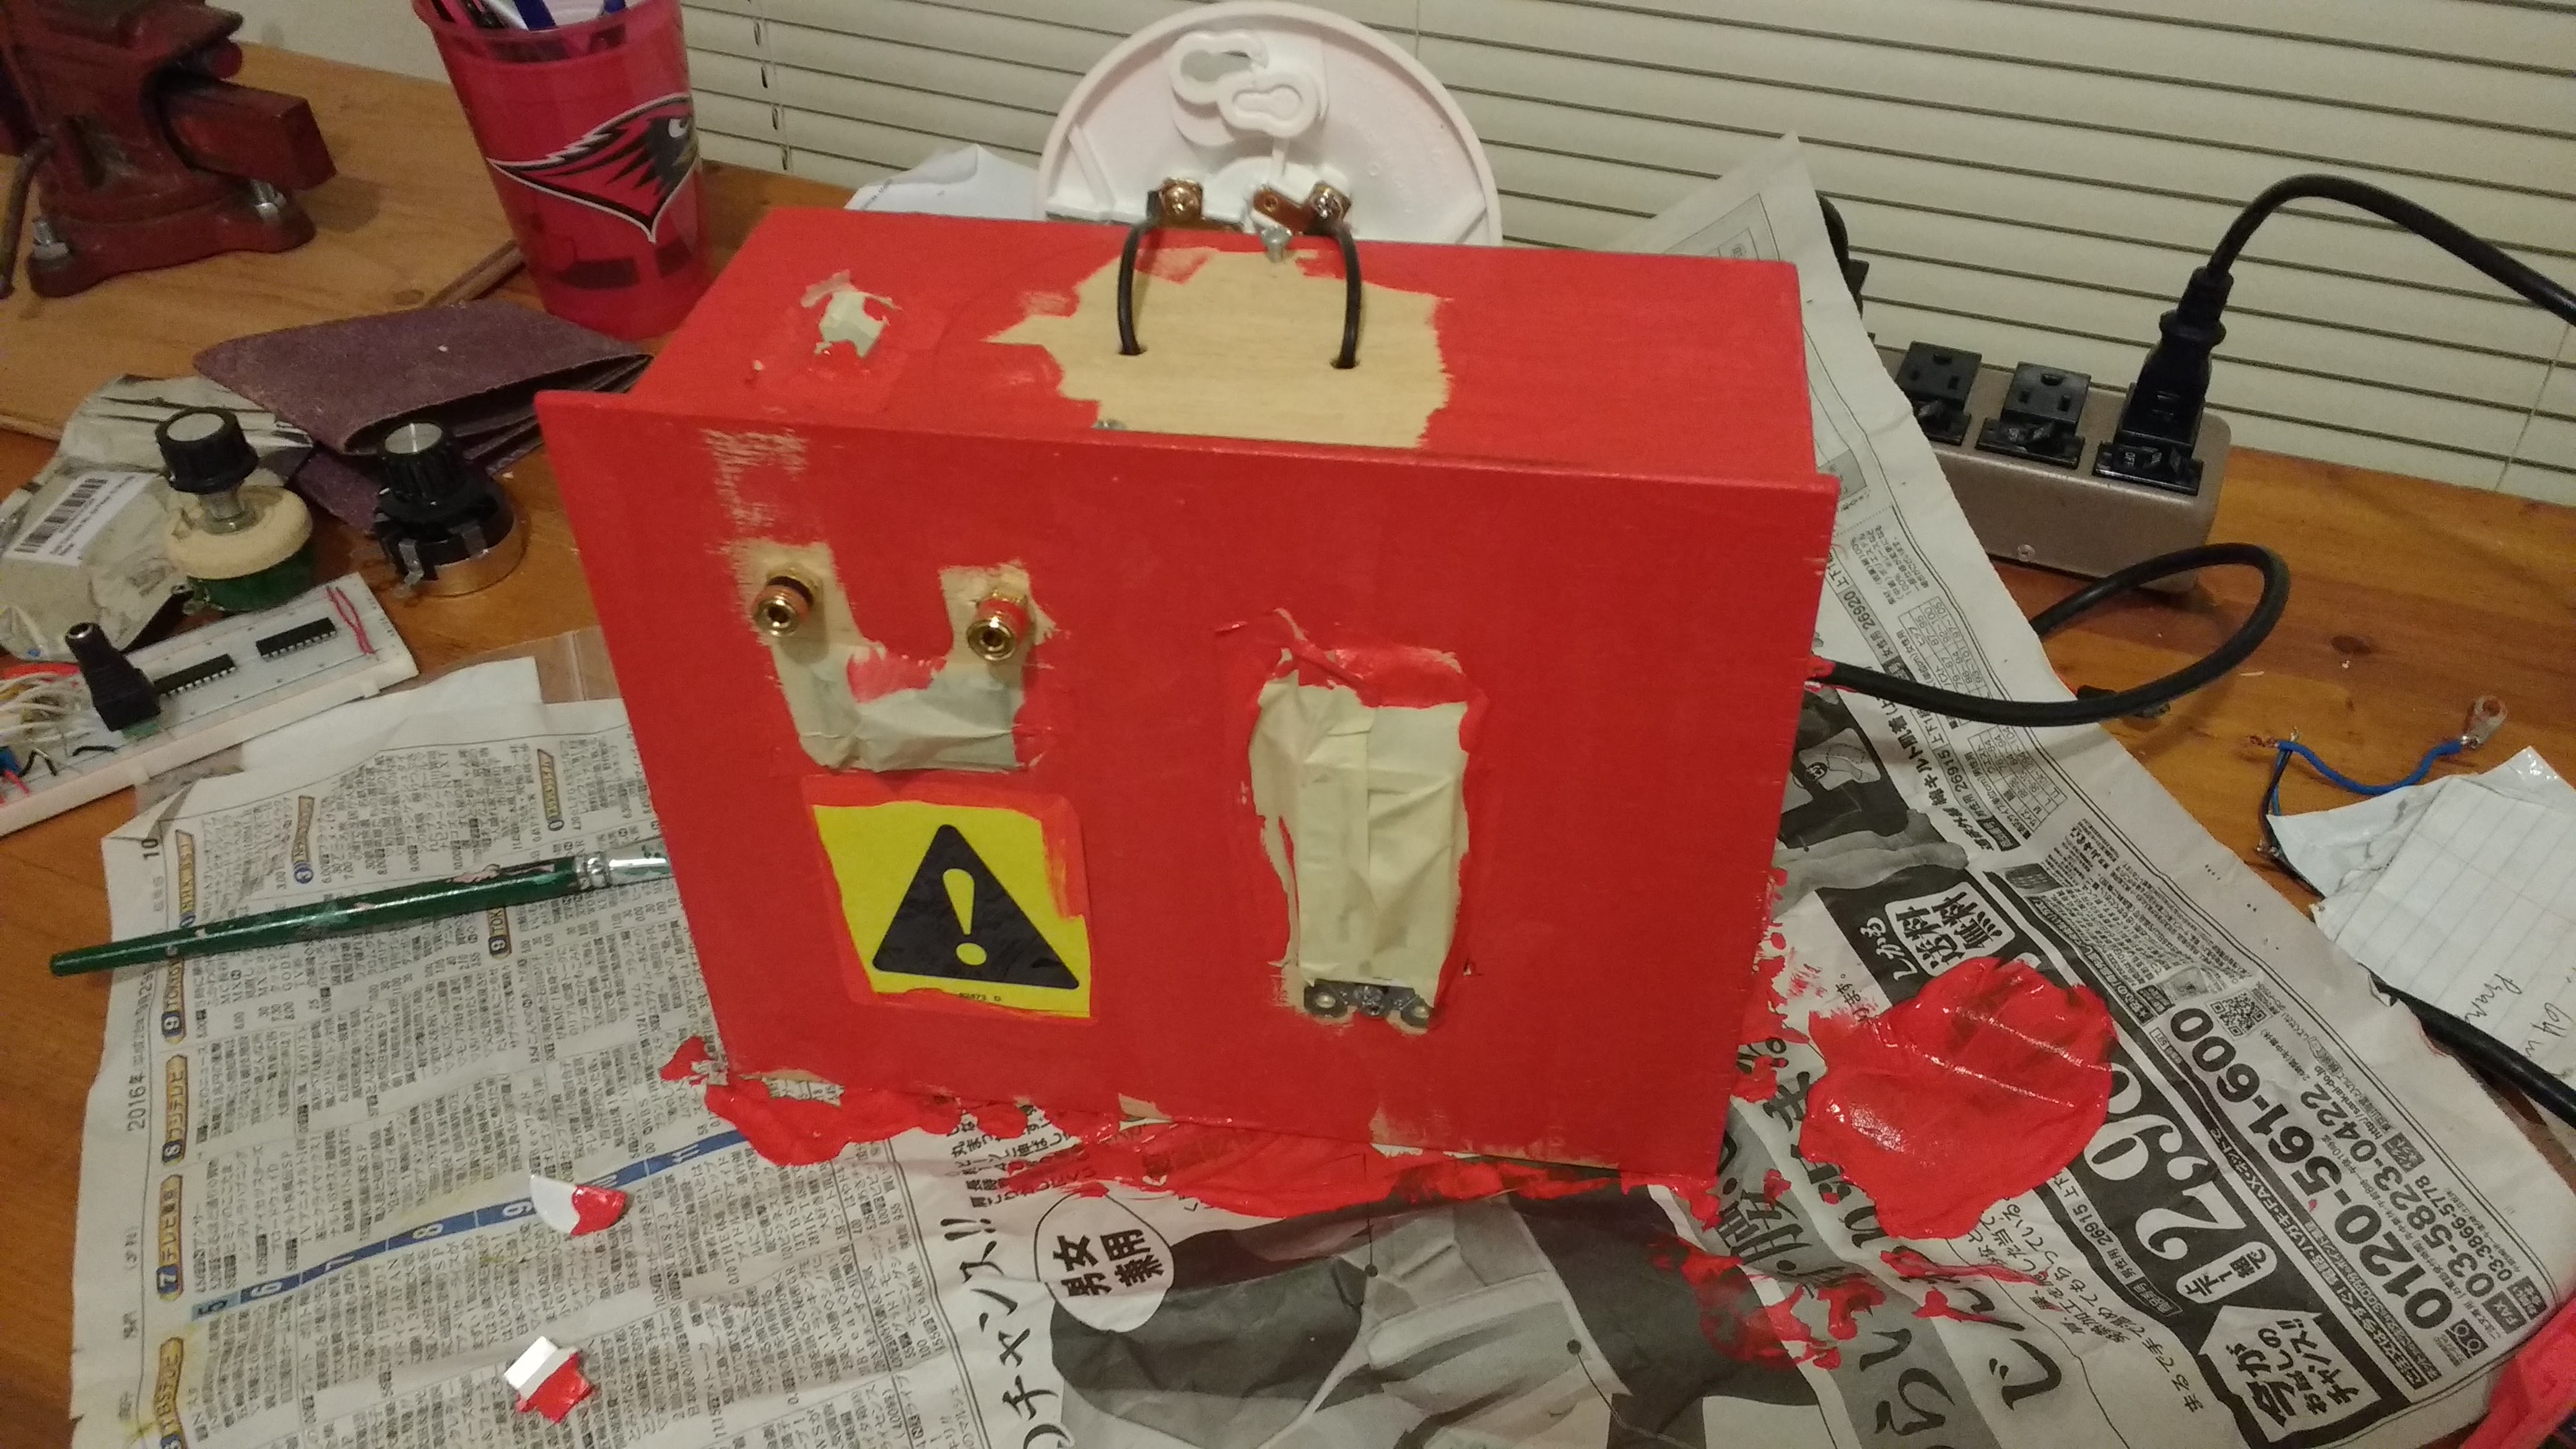
After much drilling and (tedious, manual) sawing, I had this. A switch that controlled output from the charging brick, that ran through the ampmeter, and an outlet. Both the outlet and charging brick connected to to a standard power cable that I had cut the end off of. Unfortunately it turned out that my ampmeter could only handle about 100 mA before basically acting like an open circuit. After much more fiddling, the meter stopped functioning and I decided to order a much more useful voltmeter.
It would take some time for the voltmeter to arrive (it was a 12V voltmeter for $12 set to arrive on 12/12, I’ll let the numerologists ponder that). I added the light bulb socket and jacks to connect to positive and ground on the power adapter, and I decided to paint the box before the new meter came.
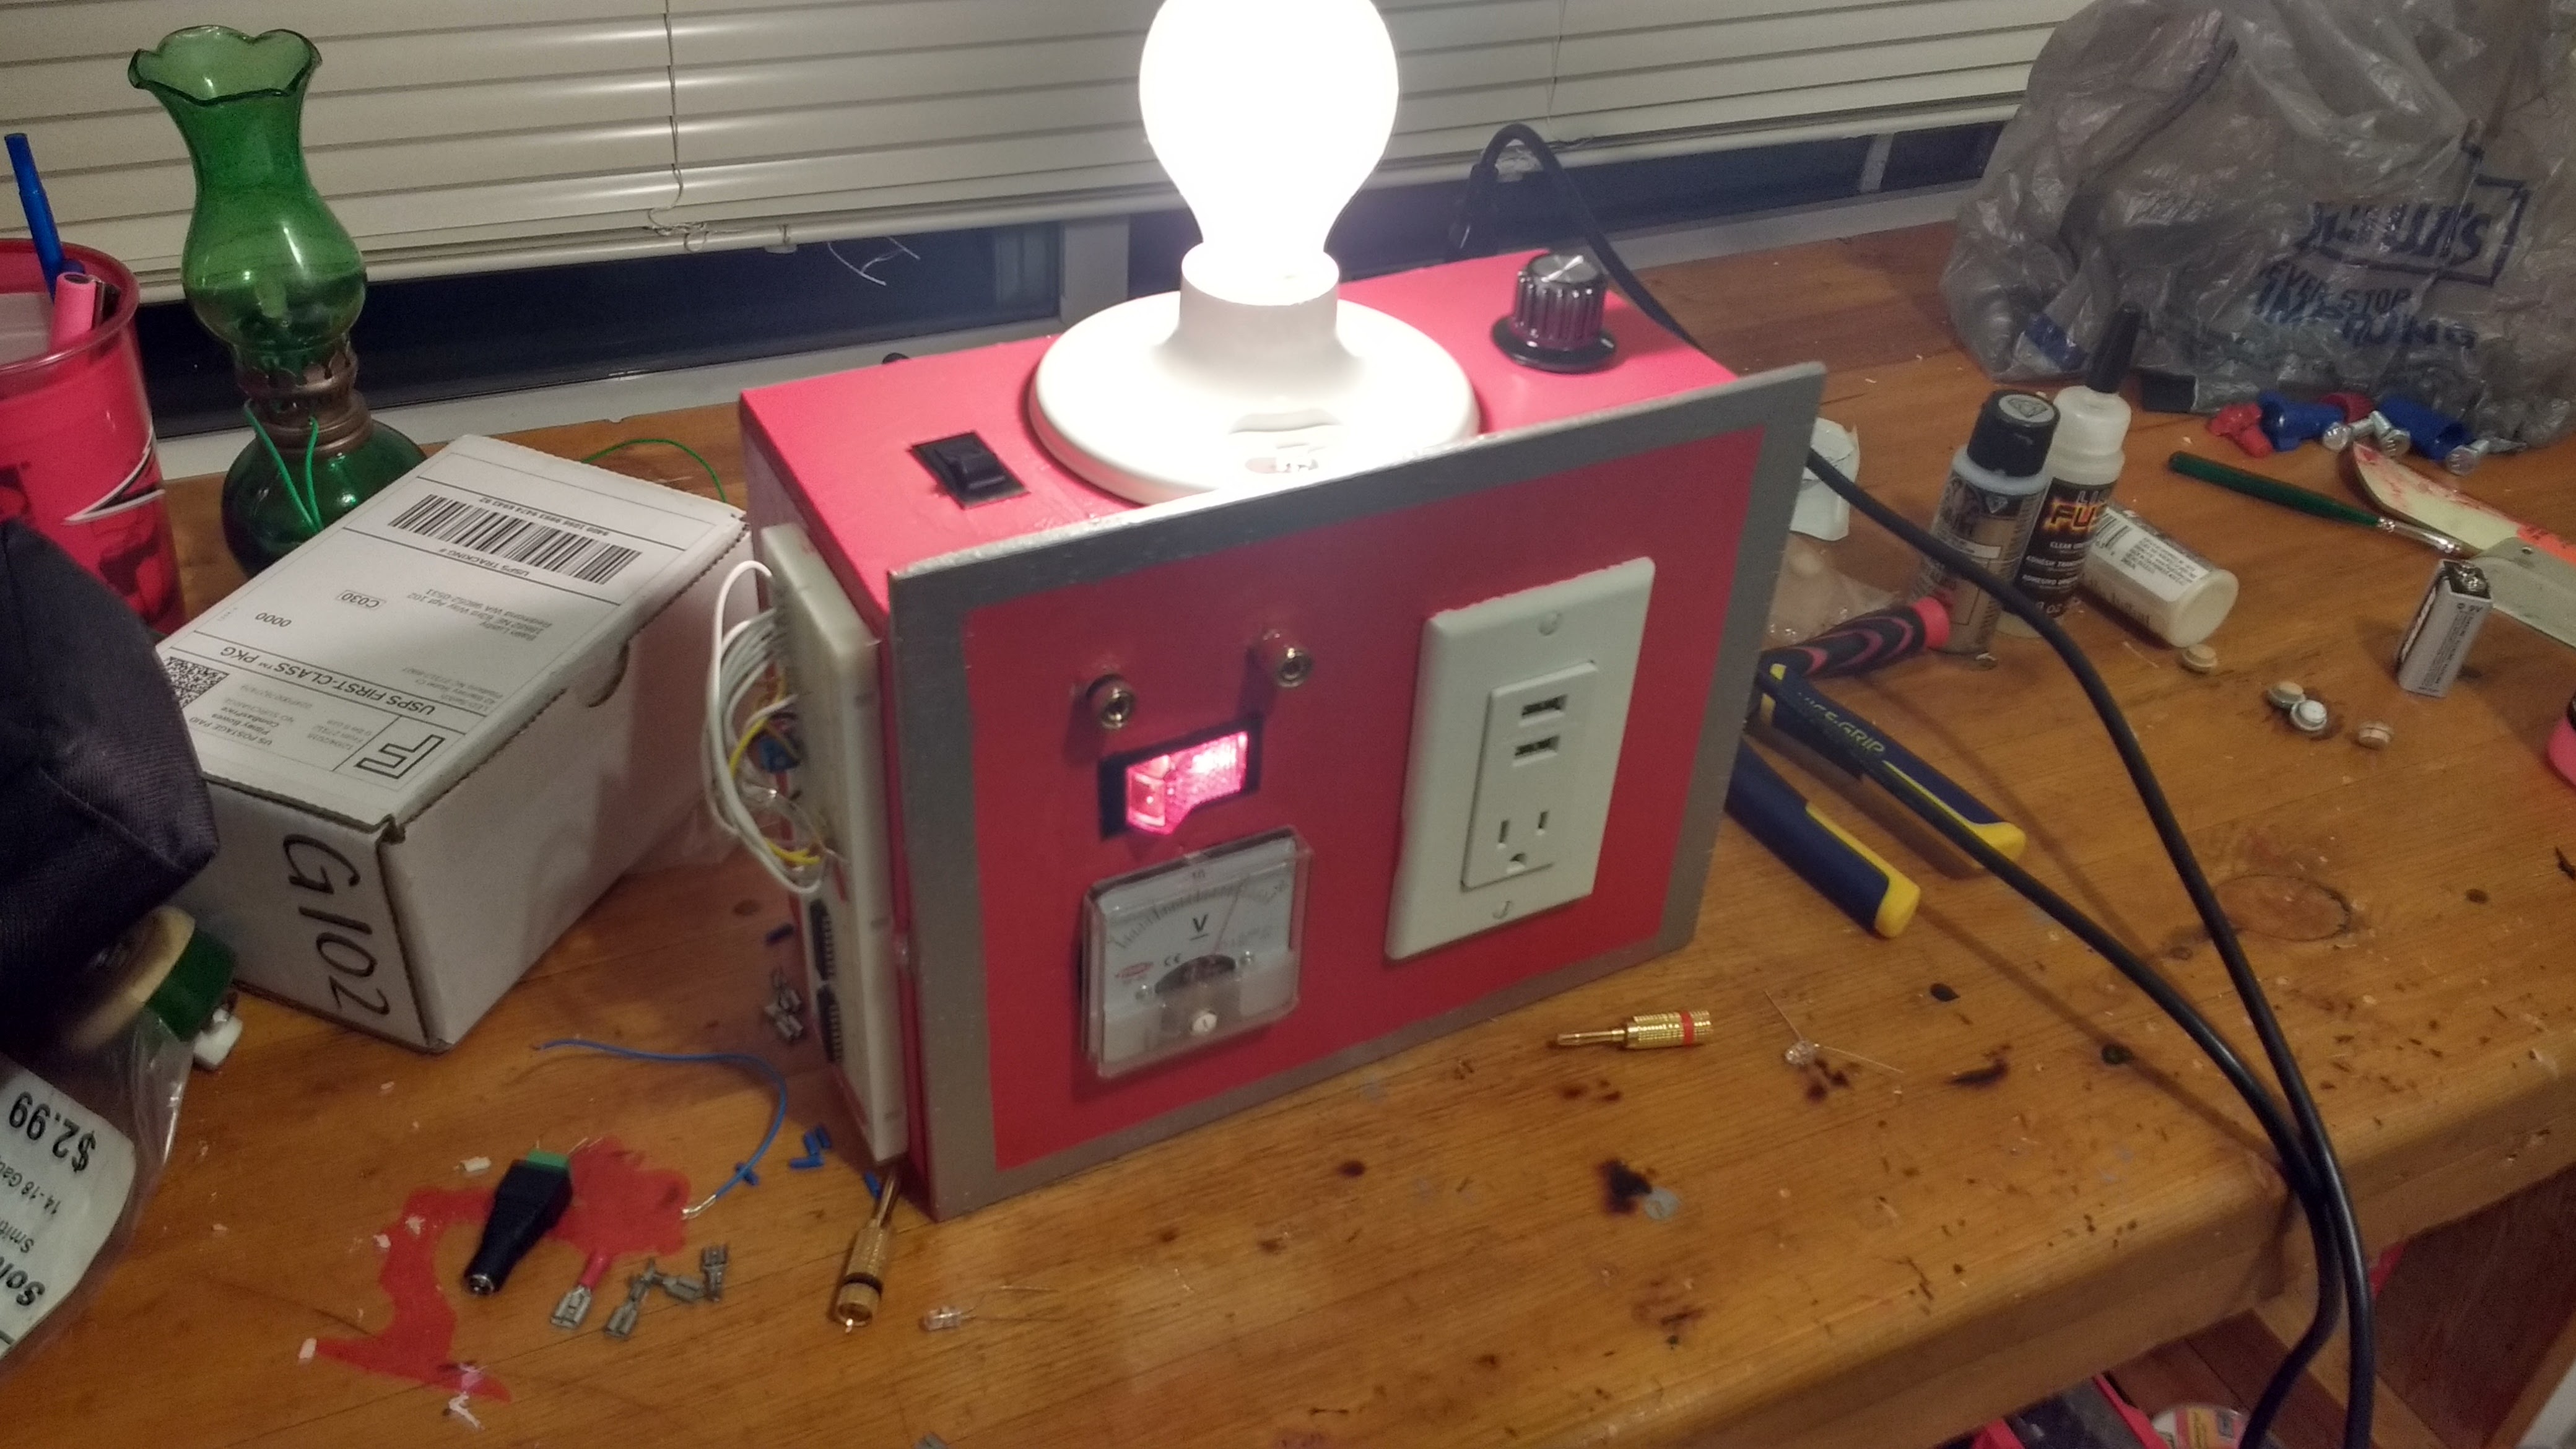
With the arrival of the new meter, I decide that it would be nice if I could vary the output voltage. I installed a 1K potentiometer knob and wired it to create variable voltage divider.
I added a small switch to turn the light bulb on and off, and after the paint was dry I mounted a breadboard on the side. I wired it so that when the switch is off, there is no voltage across the banana jacks, nor the voltmeter, meaning that if you turn off the power supply you can hook up probes and use the voltmeter to check the voltage on a circuit!